
Ambuscade
(Special Scenario)
Special Scenario: Ambuscade
- Re-written by Timo Kurvi from the Surprise Attack scenario of the Mordheim rulebook
Catching warriors off guard is the best opportunity warbands have to raid the treasury of their opponents. Agents working for ambushing warbands report that their target is now ripe for an ambuscade! Whenever a player succeeds in an ambush attempt they gain access to this special scenario. The ambushing warband plays as the attacker and their target warband as defender.
THIS SCENARIO IS FOR 2 WARBANDS ONLY
A uneven battle over the treasury (the cache) of the defending warband, favouring the attacker.
The defender does not make rout tests unless 50% of their cache markers have left the battlefield.
The warband securing the largest value of the defender’s cache wins the game.
Terrain is chosen by the defender.
Scenario Summation
Appropriate terrain
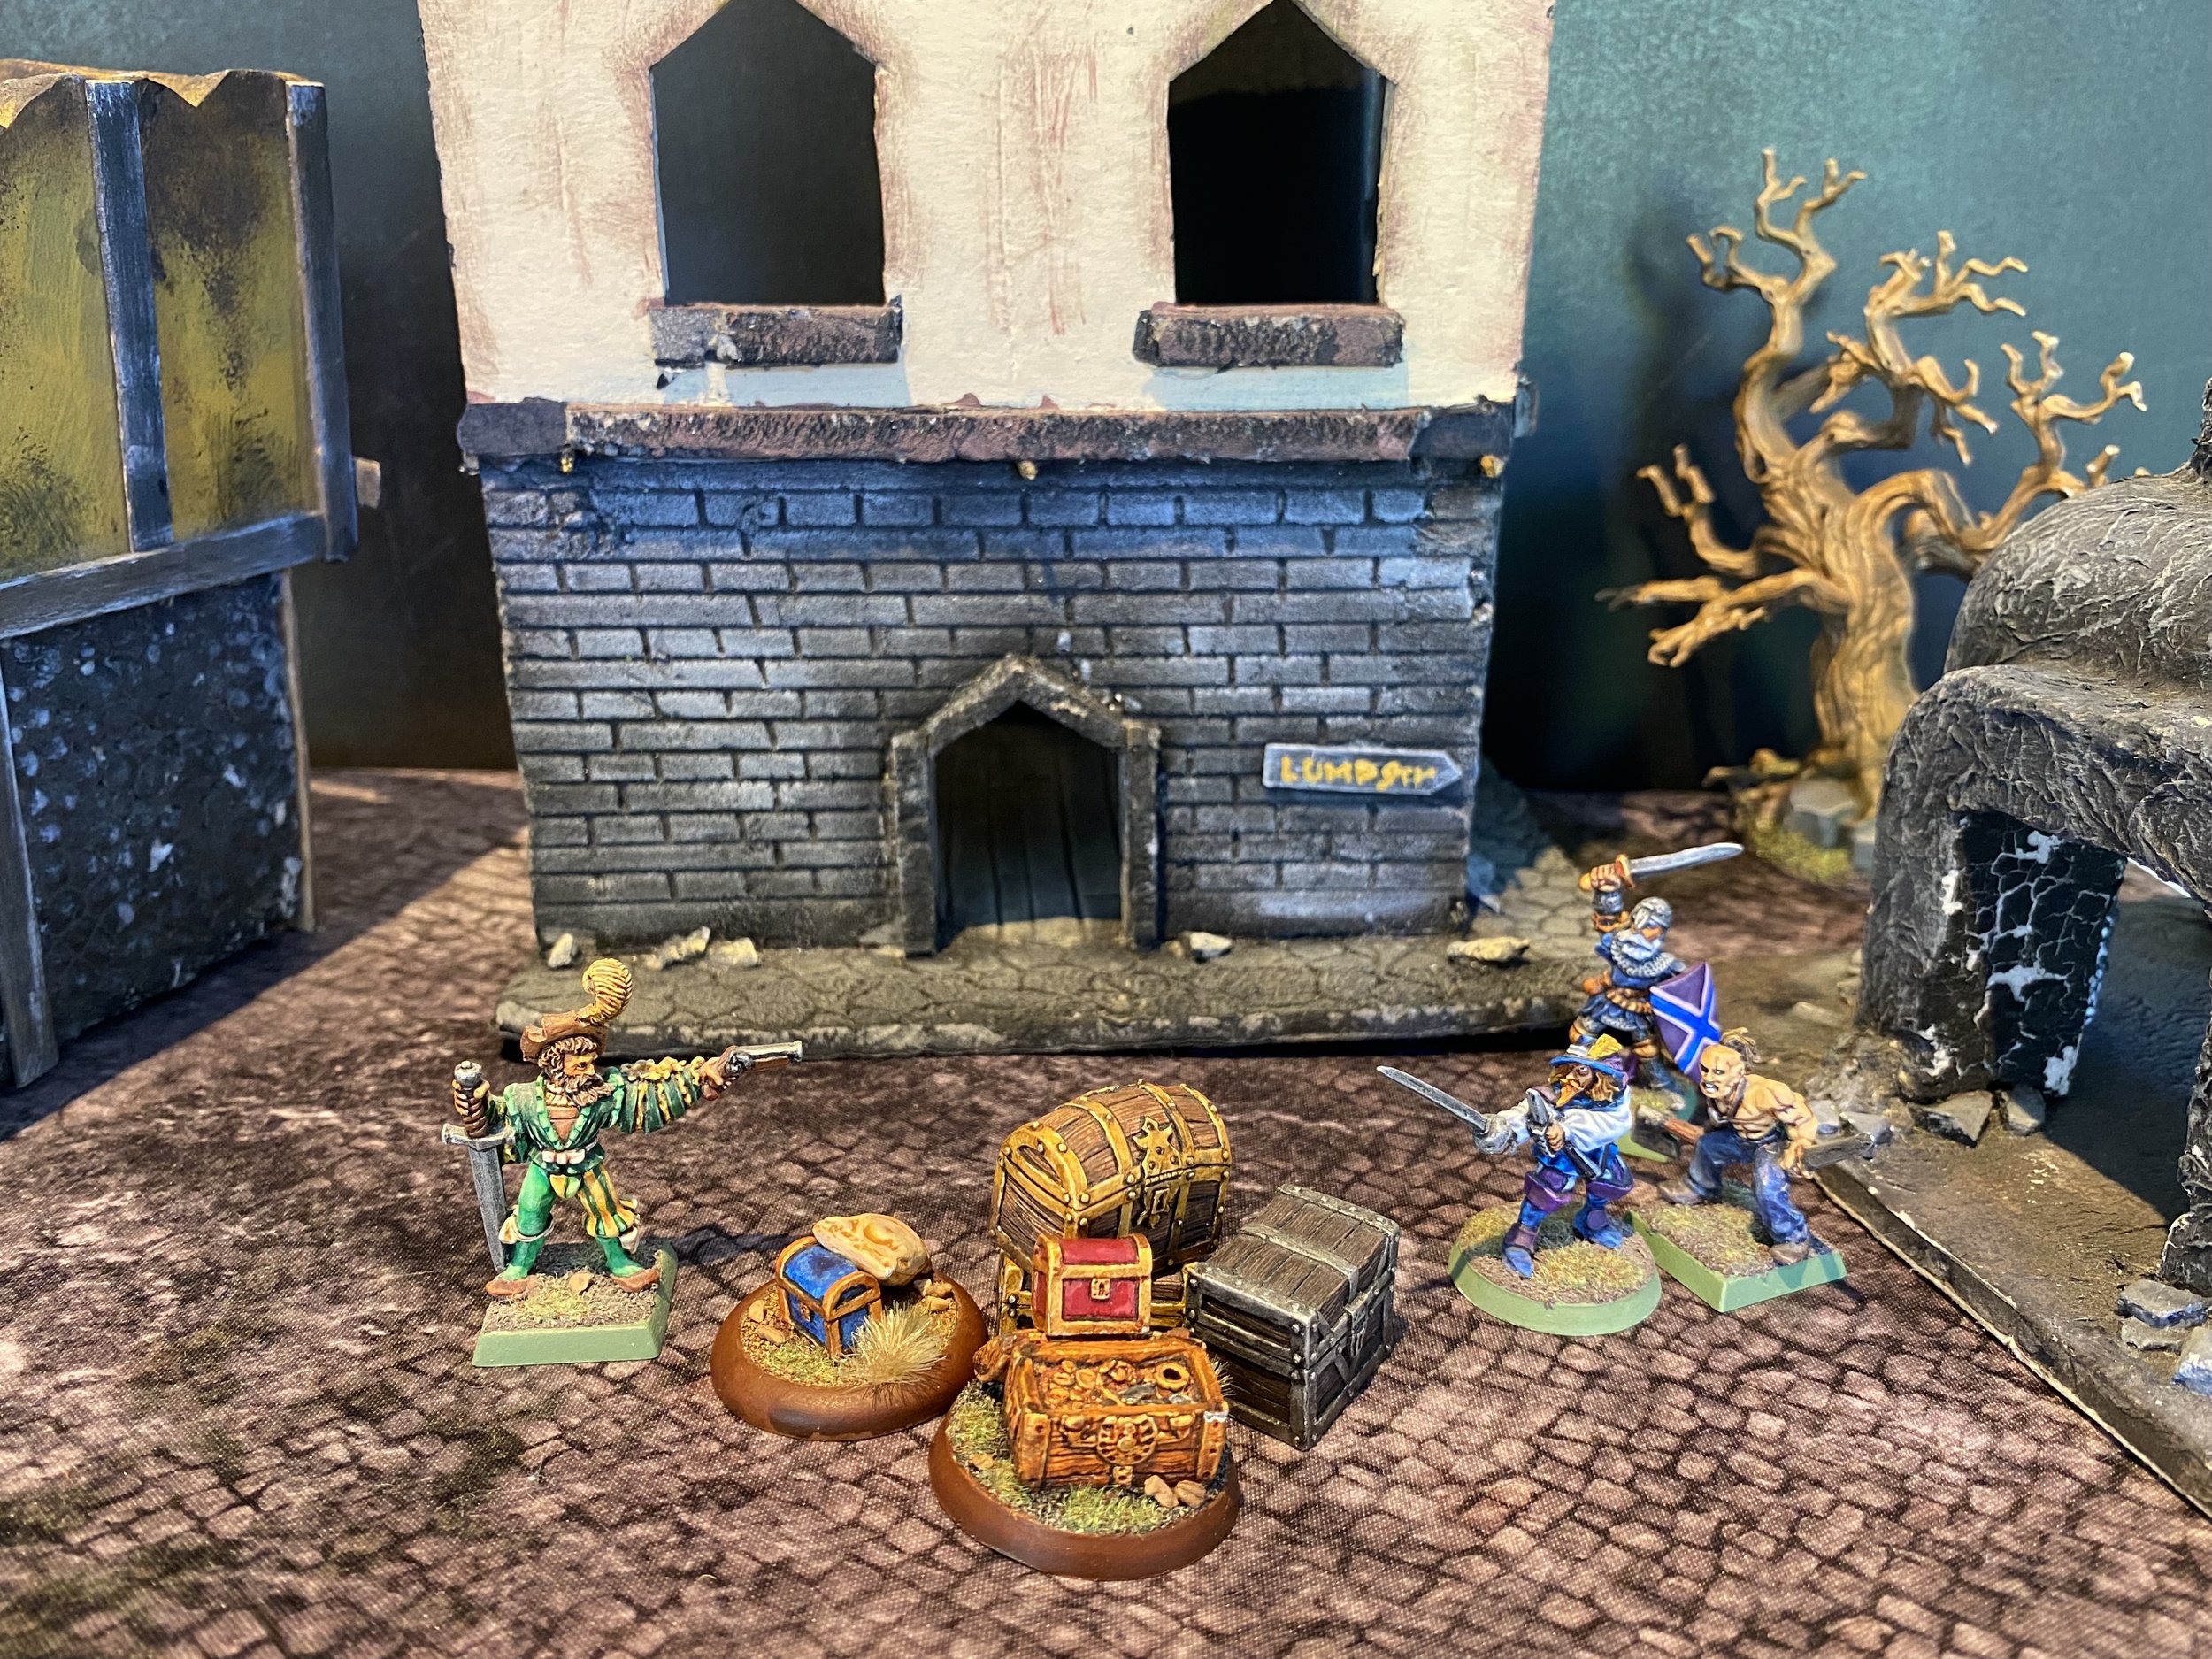
Cache Markers
What You Need For The Game
While the defender has been caught by surprise they do hold sway over where the ambush occurs. The player chooses whether the ambush is played within Mordheim (urban terrain) or the surrounding countryside (rural terrain). This choice is usually made before the campaign administrator reveals which warband is the attacker.
Defender Encampment
Reward (attacker)
Whatever you can get from your opponent’s treasury!
A victorious defender earns the reputation: Against All Odds due to the stories that are told of your underdog victory. The reputation starts with a value of 1 and increases by one every time you win the Ambuscade scenario as defender.
Reward (defender)
The defending warband has chosen whether the terrain is urban or rural. In the center of the table the defender first builds an encampment taking up no more than a 16” x 16” area. The Defender’s Cache (see below), must fit into the very center of the table. The encampment can be anything from several small pieces of terrain, to one large building/hill, or even an open area completely free of terrain. Whatever is chosen the defender’s cache must be accessible with normal movement from at least two different directions equally spaced apart. Inappropriate examples include an island with no bridges, or a ruined keep with no ground level entrances forcing warriors to climb. Lastly, no extra barricades or special defensive features should be added to the basic terrain of the encampment. The defenders have been caught with their pants down and must deal with an adverse situation.
All other terrain on the table can be set up normally.
Terrain (urban or rural)
All of the defender’s treasury is collected into a large Cache into the center of the table. This includes all Storage Containers, Dark Artefacts and Loyalty Symbols which must have their own Cache Markers placed in base contact with each other. Each maker is a carried item. As a reminder, the contents of storage containers need not be revealed to your opponent (heavy carried items might quickly become evident when halving movement). Dark artefacts and loyalty symbols are placed within their own distinctive receptacles which are obvious to everyone.
There must be at least 1” of space between the cache and anything which blocks or hampers movement (walls, bodies of water, etc.). Note, pack animals and carts/coaches may not be placed in any space they would be unable to enter, such as the second floor of a building. Should the cache be placed in such a location, any storage containers they normally carry are unloaded and their markers placed with the cache. The animals and/or cart are either positioned as close to the cache as possible, or starts the game with a warrior which controls them on or off the table.
The Defender’s Cache
Defender: Deployment for the defender is capricious. Start by choosing a single hero or henchmen group and roll a D6. On a roll of 1-3 do not place them on the table, they are off searching for wyrdstone or provisions and may or may not return during the game. On a roll of 4-6 they are deployed on the table. The first hero or model of a henchmen group to deploy must be placed within 6” of the cache. All other deploying models are placed at least 3” apart from each other (taking vertical distance into account) as they are “on lookout” or scouting the area. No model may be deployed closer than 10” to any table’s edge.
Continue choosing heroes/henchmen groups one at a time and rolling to see if they deploy or not, until either half of your warband (rounded down) is deployed or all warriors have been rolled for. Should you roll 4+ for a henchmen group that would take the number of deployed warriors above 50%, only place the henchmen needed to bring the total within this limitation, leaving the rest off the table. Should the defending player be so unlucky as to roll a 1-3 for all of their warriors, they may choose a single hero or henchmen group to deploy within 6” of the cache.
Deployment
Attacker: The attacking player sets up after the defender. They may choose to split their warband and deploy from any two different table’s edges, placing models within 8” of the chosen edges.
Random Fortune
No Random Fortune in this scenario.
Cache and Carry: All cache markers can be moved off the battlefield from any table’s edge. A warrior which moves a piece of the cache off the table secures it for their warband. Warriors doing so cannot return to the battle but are not considered to beout of action, so do not effect rout tests.
When the game ends secure any uncontrolled cache markers. An exception to the normal recovery rules: should only the models of one warband remain on the table, that warband automatically secures whatever cache is left on the battlefield.
Special Rules
Re-group!: Starting on their second turn the call goes out for the defending warband to re-group. During each defender recovery phase roll a D6 for every hero and henchman group not yet in the game and consult the Marshalling Table below. If the defender has one or more standing warriors capable of earning experience within 4” of any table’s edge add +1 to the roll (they shout for help). Add an additional +1 if you have a standing hero with a War Horn anywhere on the table.
1. Did you hear something? The hero/henchmen group has either gotten lost, cannot hear the call to re-group, or somehow has become detained. They are considered to be out of action for the game, but do not need to make serious injury rolls.
2–3. On the way! Searching for loot somewhat further afield, the hero/ henchmen group is still on their way to the battle. Leave their model(s) off the table and roll for them again on your next recovery phase.
4. Where are they at? Somewhat confused, the hero/henchmen group returns to a random table’s edge. Roll a scatter dice to see directly where the hero/henchmen group appears. Place their model in contact with the table’s edge as indicated by the scatter dice. If this is a henchmen group choose one model to be in the precise location, then all the rest in base contact with one other model in the group as well as the table’s edge.
5. Flanking manoeuvre: Having suspected something was not right, the hero/henchmen group has moved into a strategically strong position while exploring. They return to a table’s edge of your choice. Place their model(s) anywhere, in contact with any one table’s edge but no closer than 6” to enemy models.
6. We’re under attack?! The hero/henchmen group had either snuck off to sleep (now waking up in the middle of the action) or has stealthily slipped past enemies on to the battlefield. Place the model(s) anywhere on the table so they are both hidden (i.e. having cover) from enemy warriors and not in direct line of sight of the cache’s original location. If this is not possible, place them as if they performed #5–Flanking Manoeuvre.
Marshalling TableAny warrior returning to the table can act normally.
Over My Dead Body: The defending warband is very motivated to safeguard their hard earned spoils. Only once 50% of their cache markers have left the table will the defender be subject to rout tests. The defender can voluntarily rout at any time, but should they do so any cache marker that is closer to an enemy model than it is to a table’s edge must be abandoned to your opponent who automatically secures them even when the marker is controlled by your warriors. Uncontrolled cache markers closer to a table’s edge than enemies are secured normally.
Starting the Game
The attacker has the first turn of the battle.
The game ends when either warband routs or the entire cache has been secured by moving it off the table. The winning warband is the one that secures the most Value from the cache. Value is calculated in gold crowns as follows:
1 Warpstone Shard = 30 GC
1 Loyalty Symbol = 50 GC
1 Dark Artefact = 100 GC
Equipment = half its (base) value in GC
1 Gold Crown = 1 GC
If the value is tied no warband wins. Storage containers themselves are of no value for determining who wins the scenario.
Ending the Game
+1 Survives
+1 to the Winning Leader
+1 Per Enemy Out of Action
+1 to any Hero for moving a cache marker off the table.
Experience
1 for the attacker, 2 for the defender.
Secure any uncontrolled carried items when the game ends.
The rest of the post battle sequence is limited to serious injuries and advance rolls only.
Fill out your end of turn data sheet and send it to your campaign administrator.