2. Reputations & Loyalty
Warband Reputations and Settlement Loyalty both adjust the mission points a warband generates during scenario selection. This can help or hinder your chances of getting to play the game you want each chapter.
Reputations & Loyalty in a comet-shell
A Warband Reputation modifies mission points to all scenarios for as long as the warband holds the reputation. All reputations have a means by which they can be lost or terminated. Each reputation is fully detailed in the scenario, event, reward, etc. where it earned/suffered.
Warband Reputations
Warbands can earn Settlement Loyalty to each of the four camps surrounding Mordheim: Sigmar’s Haven, Brigandsburg, Cutthroat’s Den, and the Black Pit. Your loyalty score in each settlement adds an equal number of mission points to scenarios issued by that settlement. How loyalty is awarded is described in each scenario. Loyalty is rarely lost, but there are circumstances in which it can be.
In addition to the mission points loyalty generates, as loyalty increases camps will reward warbands with special favours and benefits, which can add to your campaign strategies.
Settlement Loyalty
Found within some scenarios are Loyalty Symbols, objects of social value which were lost in the Doom. Gifting a loyalty symbol to a camp increases your loyalty to that settlement and all but guarantees your warband gets to play any mission the settlement issues during the chapter it was gifted in.
Loyalty Symbols are always carried items on the table top that cannot be placed into storage containers.
Loyalty Symbols
Next: Carried Items
Reputations & Loyalty - Full Rules
Winning games usually means earning more gold and resources so players often want to partake in battles that best suit their warbands. While scenario ranking goes a long way to insure the likelihood you get to play your preferred game, should many wish to play the same scenario, it can all come down to good or bad luck. However, there are means of influencing scenario selection beyond ranking, namely Reputations and Loyalty.
Warband Reputations
As warbands conduct their business of collecting wyrdstone, carrying out missions, and getting involved in affairs they probably shouldn’t, they can gain a Reputation among the locals of Mordheim. Reputations can be good or bad, but in either case they mark a warband throughout the region as rumours and gossip about their warriors spread.
Many reputations appear within scenarios. Others reputations can come from special events during campaign chapters, from optional Side Quests, even unique Hired Swords. Whenever you hold a reputation record it on both your warband roster as well as on your End of Chapter Data Sheet in the Reputations table.
Each reputation is defined by the following:
Description: the name and description of the reputation, as well as how to earn it.
Value: the value, positive or negative, of the reputation.
Termination: a possible means to end the reputation.
The value of a reputation is added to the mission points for all scenarios for as long as your warband holds the reputation. A positive reputation will increase your chances of being awarded scenarios while a negative one will hamper you.
There is one reputation which is determined by the campaign administrator each chapter: the Max Mayhem Warband-reputation.
Reputation: Max Mayhem Warband
Description: At the start of each campaign chapter the warband with most Mayhem Victory Points (MVPs) earns the Max Mayhem Warband reputation if the amount of wyrdstone shards in their treasury at least equals the number of the current campaign chapter. Warriors are riding high on their recent successes and are the talk of the region for the next week as they seem to be the wealthiest (or at least most notable) warband of the moment.
Only one warband can hold the Max Mayhem-reputation. Should two or more warbands tie for the greatest number of MVPs no warband earns the reputation.
Value: 1
Termination: Whenever a warband does not fulfil the requirements.
Settlement Loyalty
After the Doom, Mordheim’s survivors gathered into camps for mutual support and protection. These settlements largely fell along class lines. Well-to-do merchants, tradesmen, and the few remaining priests formed Sigmar’s Haven; the city watch and professional soldiers fortified Brigandsburg; labourers, inn keepers, and criminal gangs contracted Cutthroat’s Den; while beggars, the disabled and other outcasts rummaged about for the Black Pit. Most of Mordheim’s surviving nobility fled as far as their riches could carry them, so very few of the upper class can be found in the vicinity.
At the start of the campaign these settlements are just beginning to organise after having built some semblance of shelter and established a means of sustaining themselves. There is enough to do just to survive, let alone respond to the growing influx of mercenaries, opportunists, and other bizarre entities that are drawn to Mordheim in the comet’s aftermath. Warbands, while often reckless and a source of trouble in the camps, also provide services that residents do not have the time or capability to accomplish. The more a warband assists a settlement, the more they are valued during these trying times.
While residents are mostly human this does not stop warbands which would normally be attacked in human communities from interacting with them. Warband’s do so through venal human agents who find and negotiate missions, sing the praises of your warriors, and recruit less scrupulous denizens on your warband’s behalf.
As players succeed in scenarios, their warbands accumulate respect and trust from the residents and leadership of the camps that employed them. This esteem is represented by Loyalty Points. In most games the winning warband earns loyalty to the settlement which issued the scenario. Other scenarios have conditions which must be achieved to merit recognition and the winner of the game may not always be the warband which earns loyalty. If conditions are not fulfilled by any warband, no one gains loyalty.
The more loyalty you have in a camp the better your chances of being awarded missions from the settlement. Residents living there remember those that have helped them and send word to loyal warbands of new opportunities or rumours that might interest them.
Loyalty is always positive. Each loyalty point generates 1 mission point to any scenario that lists the settlement as issuing the game. This differs from Reputations which affect all your scenarios but can be either beneficial or detrimental. Players must keep separate track of loyalty points for each of the four settlements surrounding Mordheim. Record your current Loyalty for each camp both on your warband roster as well your End of Chapter Data Sheet in the Settlement Loyalty table. There is no maximum to the amount of loyalty that warbands can accumulate.
Loyalty Points
VS Scenarios
Loyalty is rarely lost, but there are circumstances when this can happen. The most typical example is when taking part in a verses scenario, which pits one settlement directly against another. Such scenarios are clearly labeled as such. Participating warbands represent one of the camps in the battle. If the winning warband betrays their patron by accepting the rewards of the opposing camp, the winner will loose 1 point of loyalty to the settlement they were originally fighting for. If they had no loyalty in that settlement to begin with, they loose nothing. Loyalty can never be negative.
Additional Rewards for Loyalty
In addition to bettering your chances of gaining employment, settlement loyalty also bestows fringe benefits to warbands as their loyalty increases. This represents the camp’s residents not only respecting but admiring your warband and rewarding them in appreciation for their service.
In the lists below, each settlement has unique Loyalty Point Rewards for warbands regarded with esteem. As warbands achieve 2, 4, 6, 8, and 10 points of loyalty in a given settlement they gain special boons. You can earn different benefits from all of the settlements throughout the campaign. While there is no limit to the amount of loyalty you can accumulate, there are no added rewards after ten points of loyalty.
Sigmar’s Haven
Sigmar’s Haven was formed as a covenant between many of Mordheim’s skilled artisans, connected merchants and the remaining priests of surviving cults (excluding the “heretical” Sisters of Sigmar). Based around a Sigmarite chapel, they pledged to assist and protect one another. While the residents are excellent on mutual assistance, they are weak on protection as they have little to no martial experience.
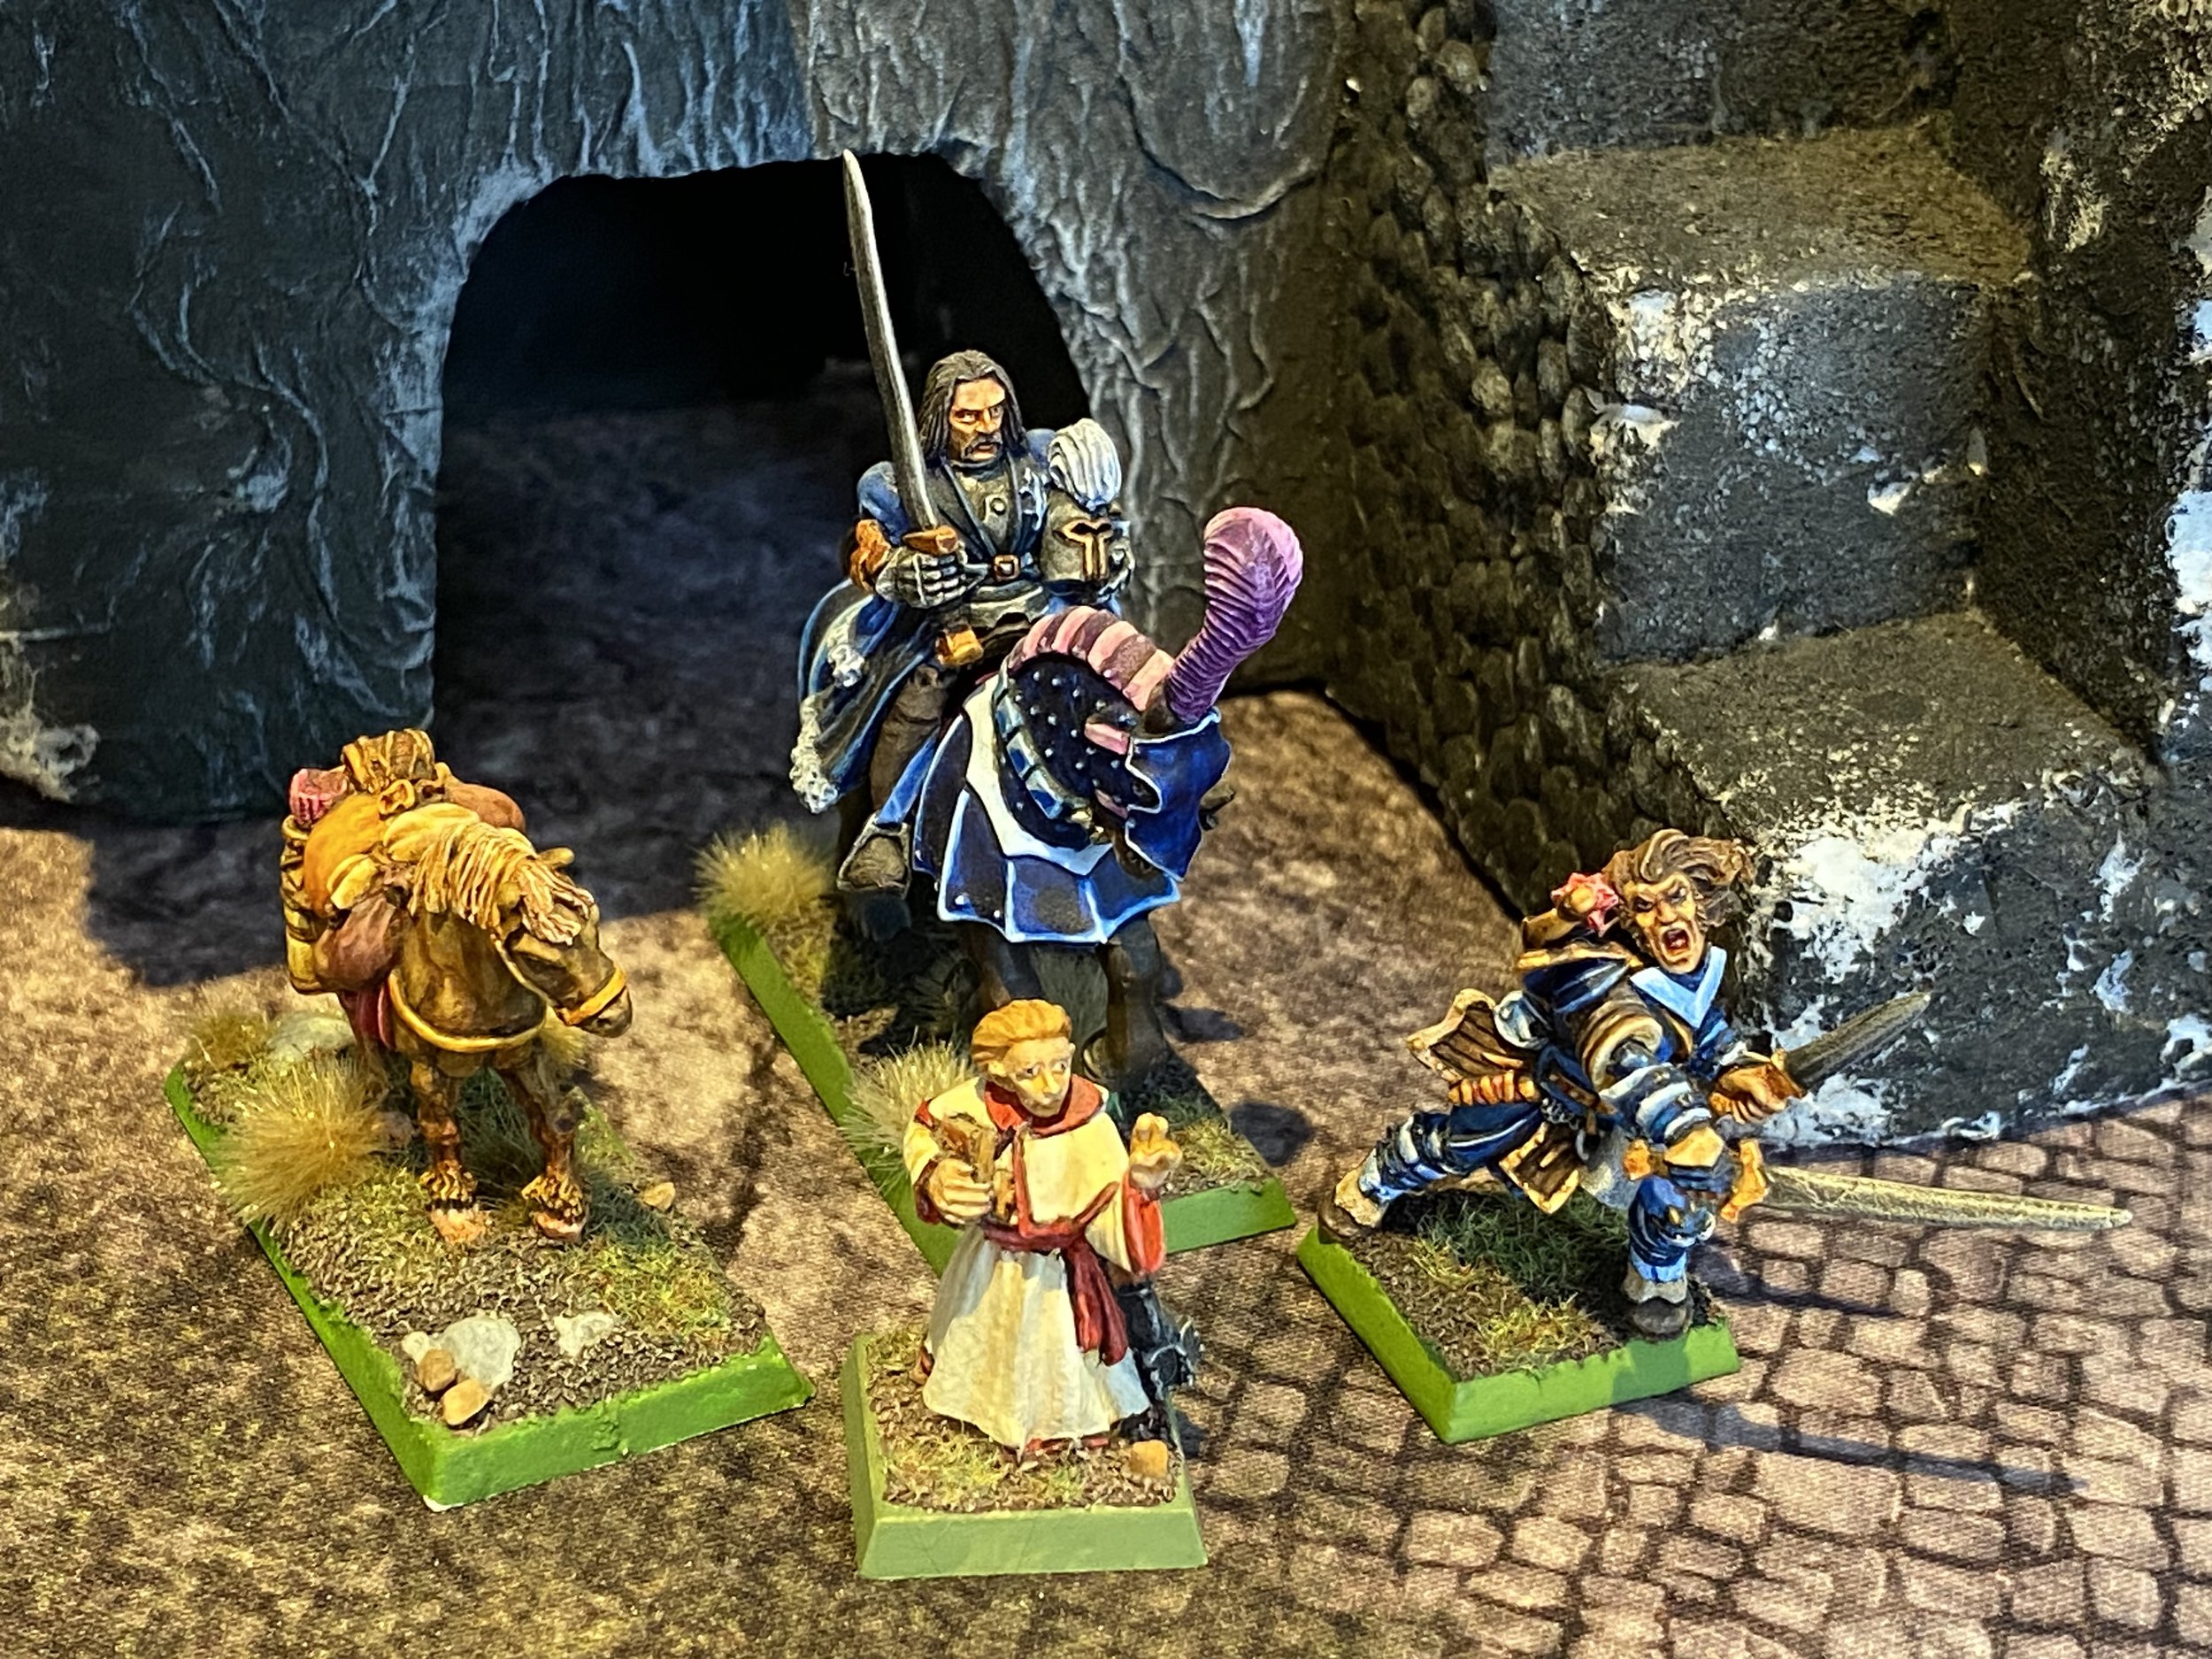
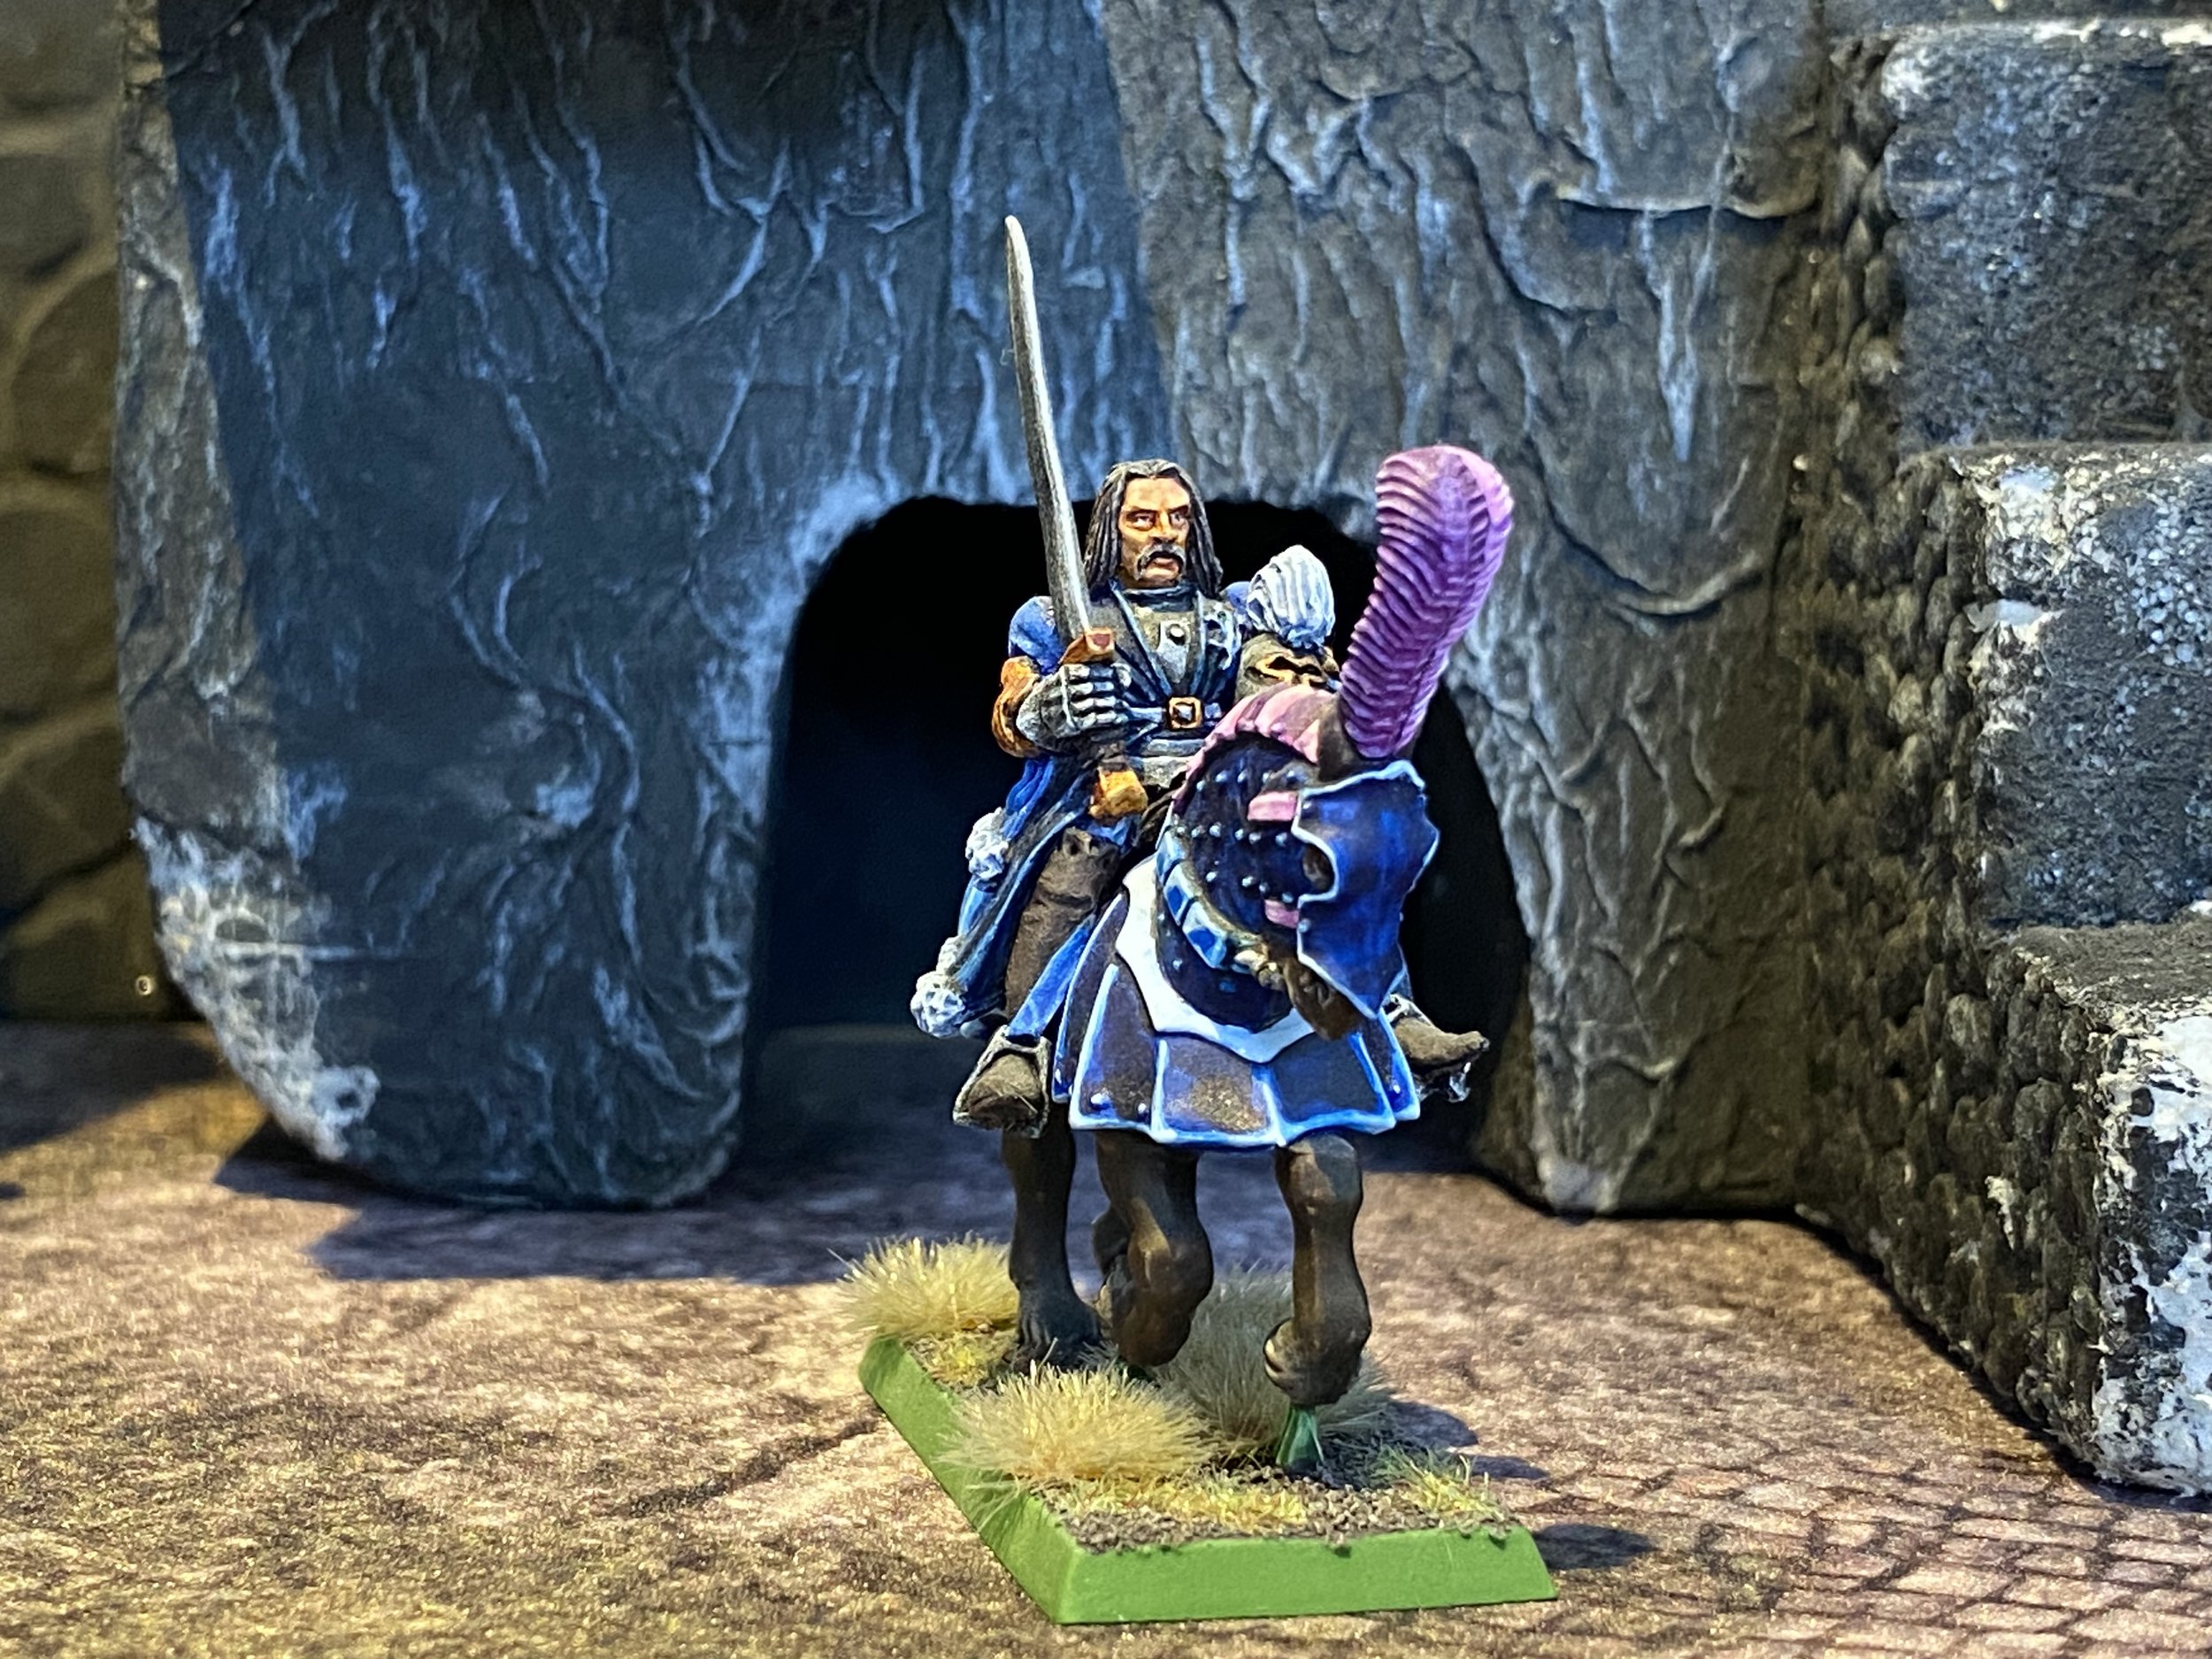
Into this opportunity a knight appeared, Sir Faustus von Reikwald, with his cavalry and men-at-arms. Sir Faustus, a minor noble from Averland, was visiting the von Steinhart family around the time of the Doom, but was on a hunting expedition outside the city when the comet fell. Seeing a favourable moment for himself, Sir Faustus remained behind as other nobles fled. He quickly gained the trust of the Sigmarite priesthood as a “true protector of the Empire” and has been the de facto ruler of the camp ever since.
Sir Faustus has greatly improved the defences of Sigmar’s Haven and sends regular patrols to both keep order in the camp as well as protect the river Stir, which is essential for Haven merchants who hold a monopoly on goods moving along the waterway. Life in Sigmar’s Haven is as close to normal as you can get under the circumstances and Sir Faustus sees himself as the entire region’s reigning noble.
Warbands who earn the approval of Sigmar’s Haven residents gain access to special favours and services which will help keep your warband well equipped and potentially wealthy.
Loyalty Point Rewards
2–Rare Offers: Heroes of the warband are presented with all kinds of interesting merchandise for sale. During the post battle sequence when making availability rolls to buy rare items, each hero who can makes one “general” availability roll instead of rolling for a single specific item. The hero can then choose to purchase any one item with a rarity equal to or less than the number they rolled. For example, instead of a hero having to make their one and only availability roll for Cathayan Silk Cloths (rare 9), any hero who rolls a 9, 10, 11, or 12 will be offered the choice to buy Cathayan Silk Cloths among all other weapons, armour, and miscellaneous items that have a rarity equal to or less than what was rolled.
4–Supply support: Your warband is sold supplies and basic services at a discount. You can consider your warband to be one category smaller on the Selling Wyrdstone Chart than what it actually is. For example, if you have 15 warriors in your warband you sell warpstone as if you had 10–12 warriors in your warband. For every 2 points of loyalty beyond four, this support increases so you can sell wyrdstone at additionally smaller categories: two categories smaller at loyalty 6, three categories smaller at loyalty 8, and four at loyalty 10, etc.
6–Full Reimbursement: When you sell equipment you are paid the full list price for the item (or full base list price for items of random value) out of appreciation for your contributions to the settlement. Jewelled weapons are reimbursed at double list price.
8–Storage Services: The leadership of Sigmar’s Haven offers to safely store some of your wealth in Sir Faustus’ own manor. Your warband no longer needs to bring its full treasury on to the table, including when defending during the Ambush Scenario. At the start of each chapter, you can store up to 50 GC, 5 wyrdstone shards, and 2 pieces of equipment (cannot be Dark Artefacts) within Sigmar’s Haven. For a 15 GC fee per turn this can be increased to a treasure chest’s worth of treasury.
10–Trading Contacts: You have either befriended or been given letters of introduction to significantly influential merchants based in far away commerce centres such as Altdorf, Nuln, Middenheim, or Marienburg. You will be able to sell your wyrdstone at even higher values there thanks to these contacts. Your wyrdstone is worth 1.5 Mayhem Victory Points per shard.
Brigandsburg
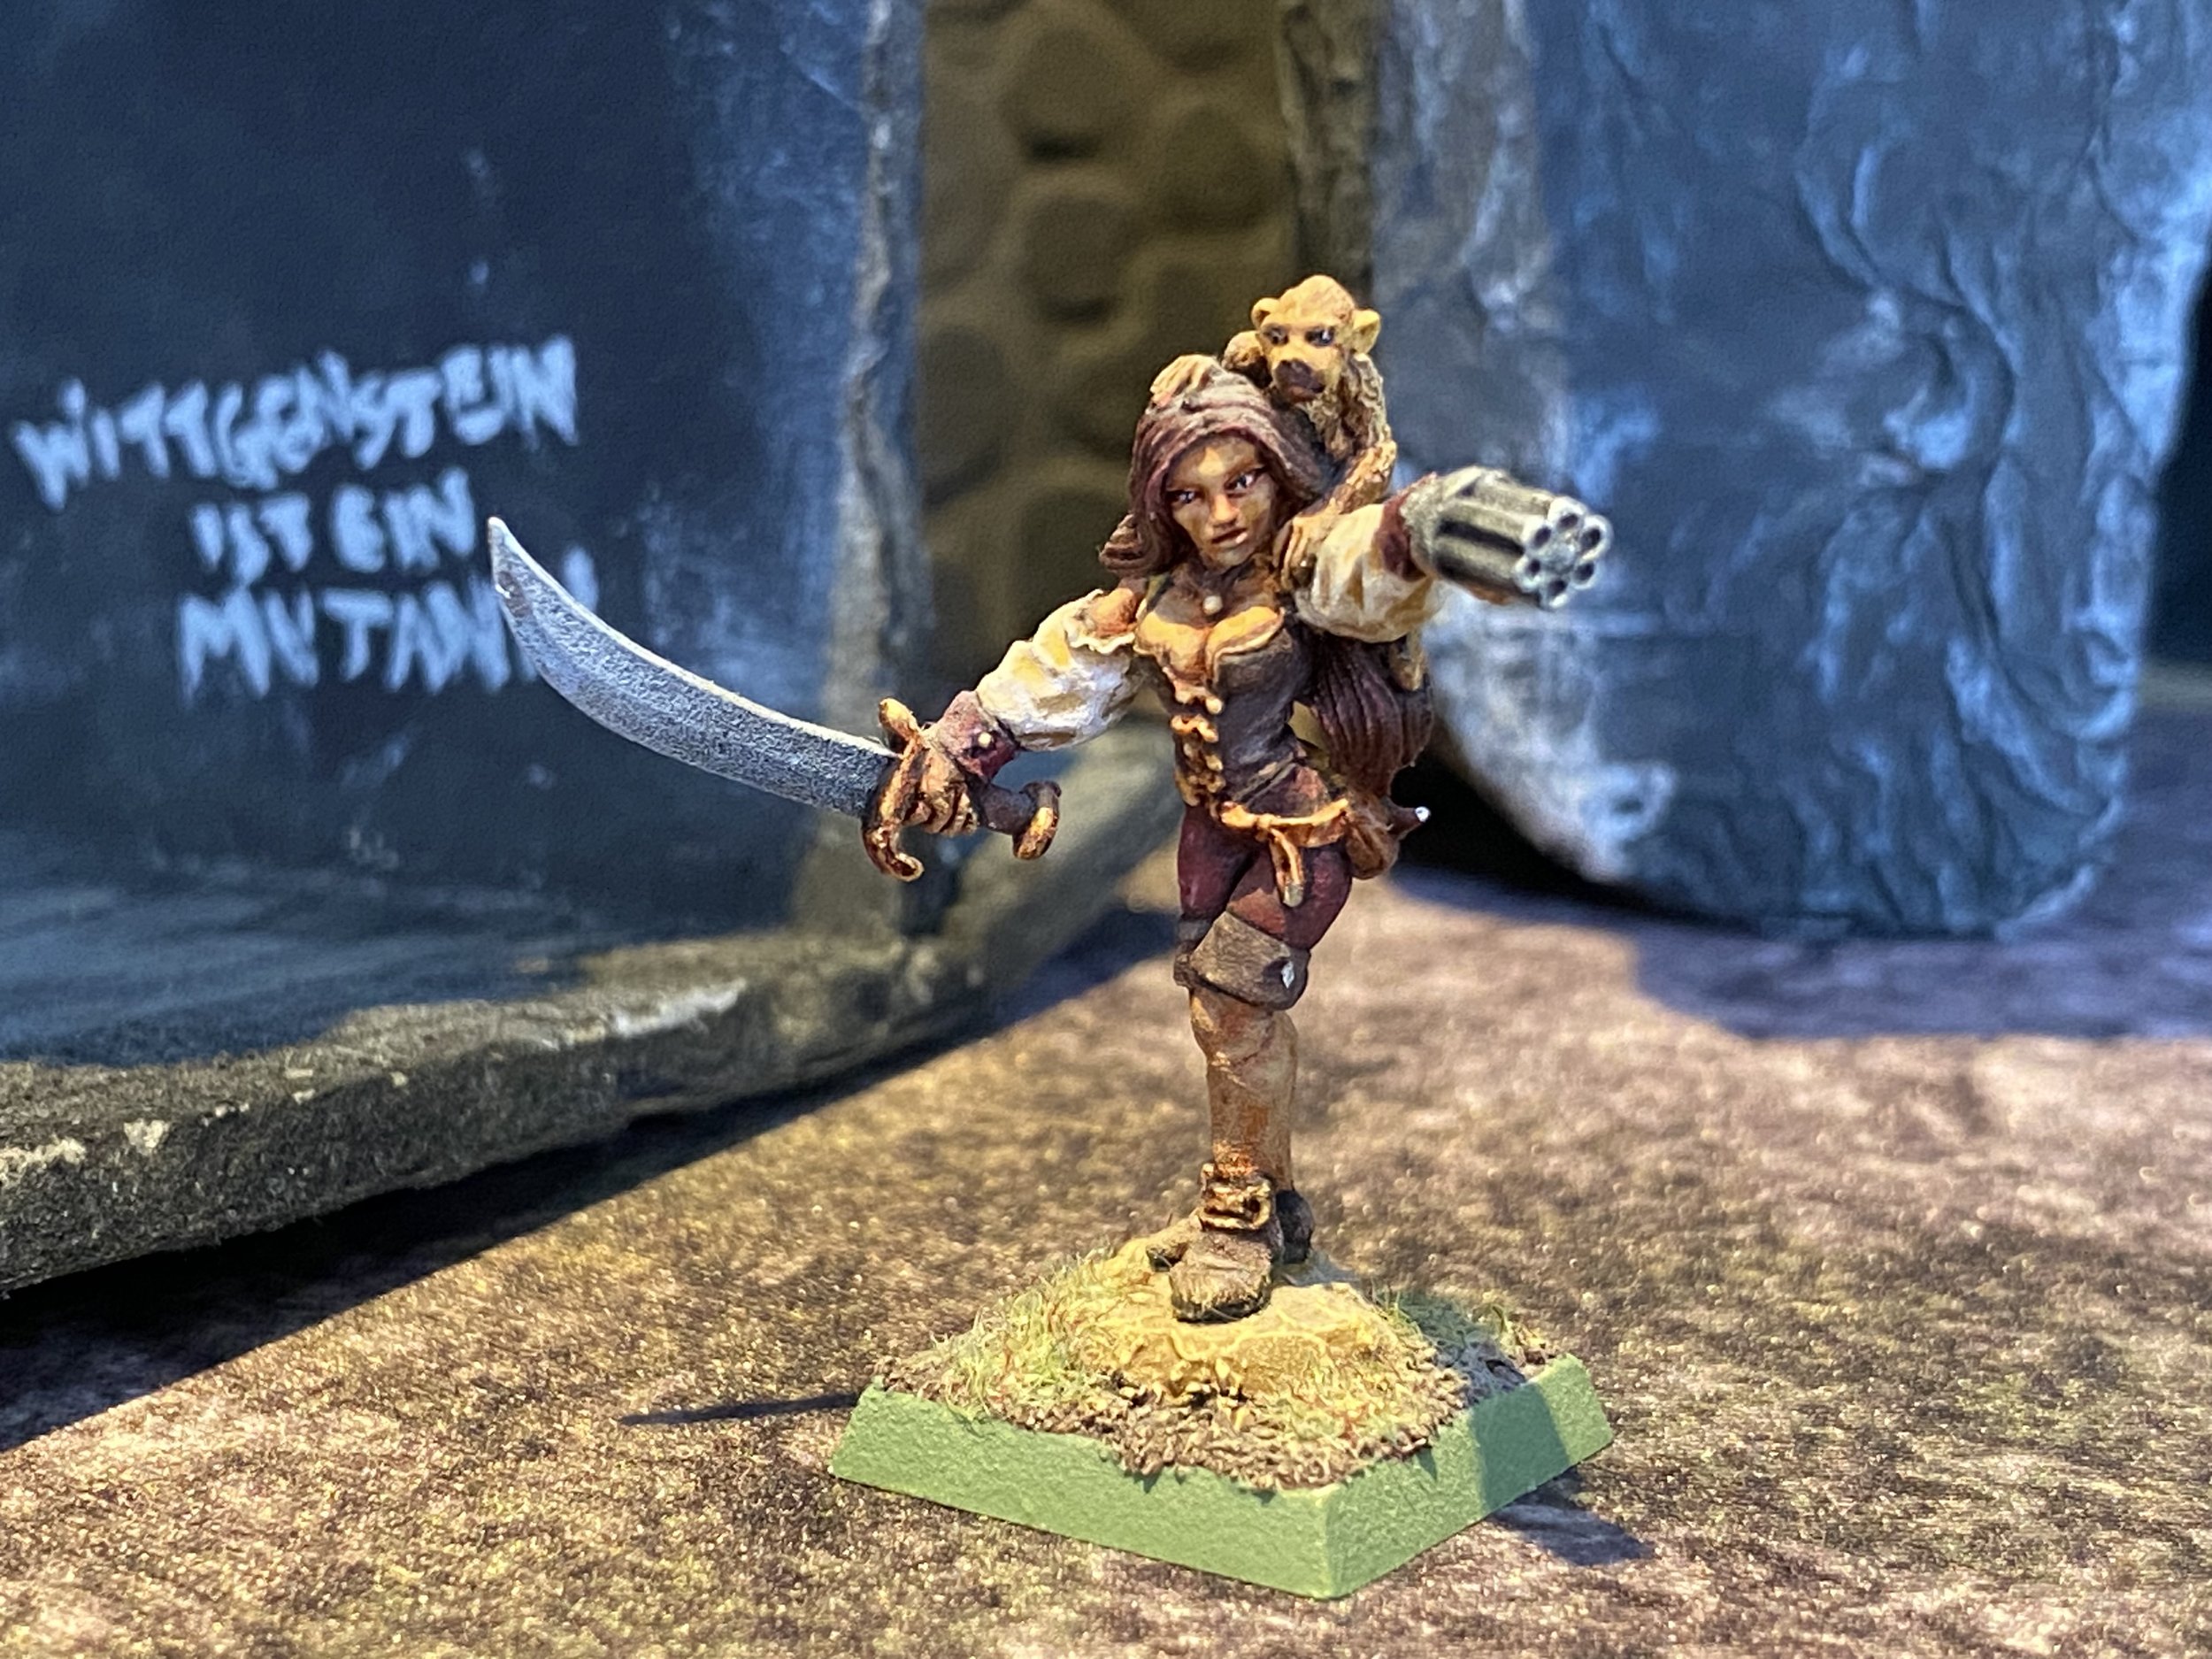
Brigandsburg is a motley garrison made up from members of the Mordheim city watch, former bodyguards of affluent citizens, and soldiers of all types drawn to the area. Two leaders quickly emerged, Luigi Stiletto, the Tilean deputy captain of the Ravenwatch (nobody knows what happened to the watch captain…), and Diegoma Altriste, an Estalian mercenary leader who’s men served many aristocrats and rich merchants.
After a brief contest for authority both commanders came to an agreement to share power, a compact which has become known as the Southern Cabal. Despite its rough exterior those encamped in Brigandsburg are supportive of warriors they admire, encouraging bravado and camaraderie. Warbands who gain the approval of these veterans will maintain their warriors performing at peak efficiency, as the soldiers here bolster and lionise you.
Loyalty Point Rewards
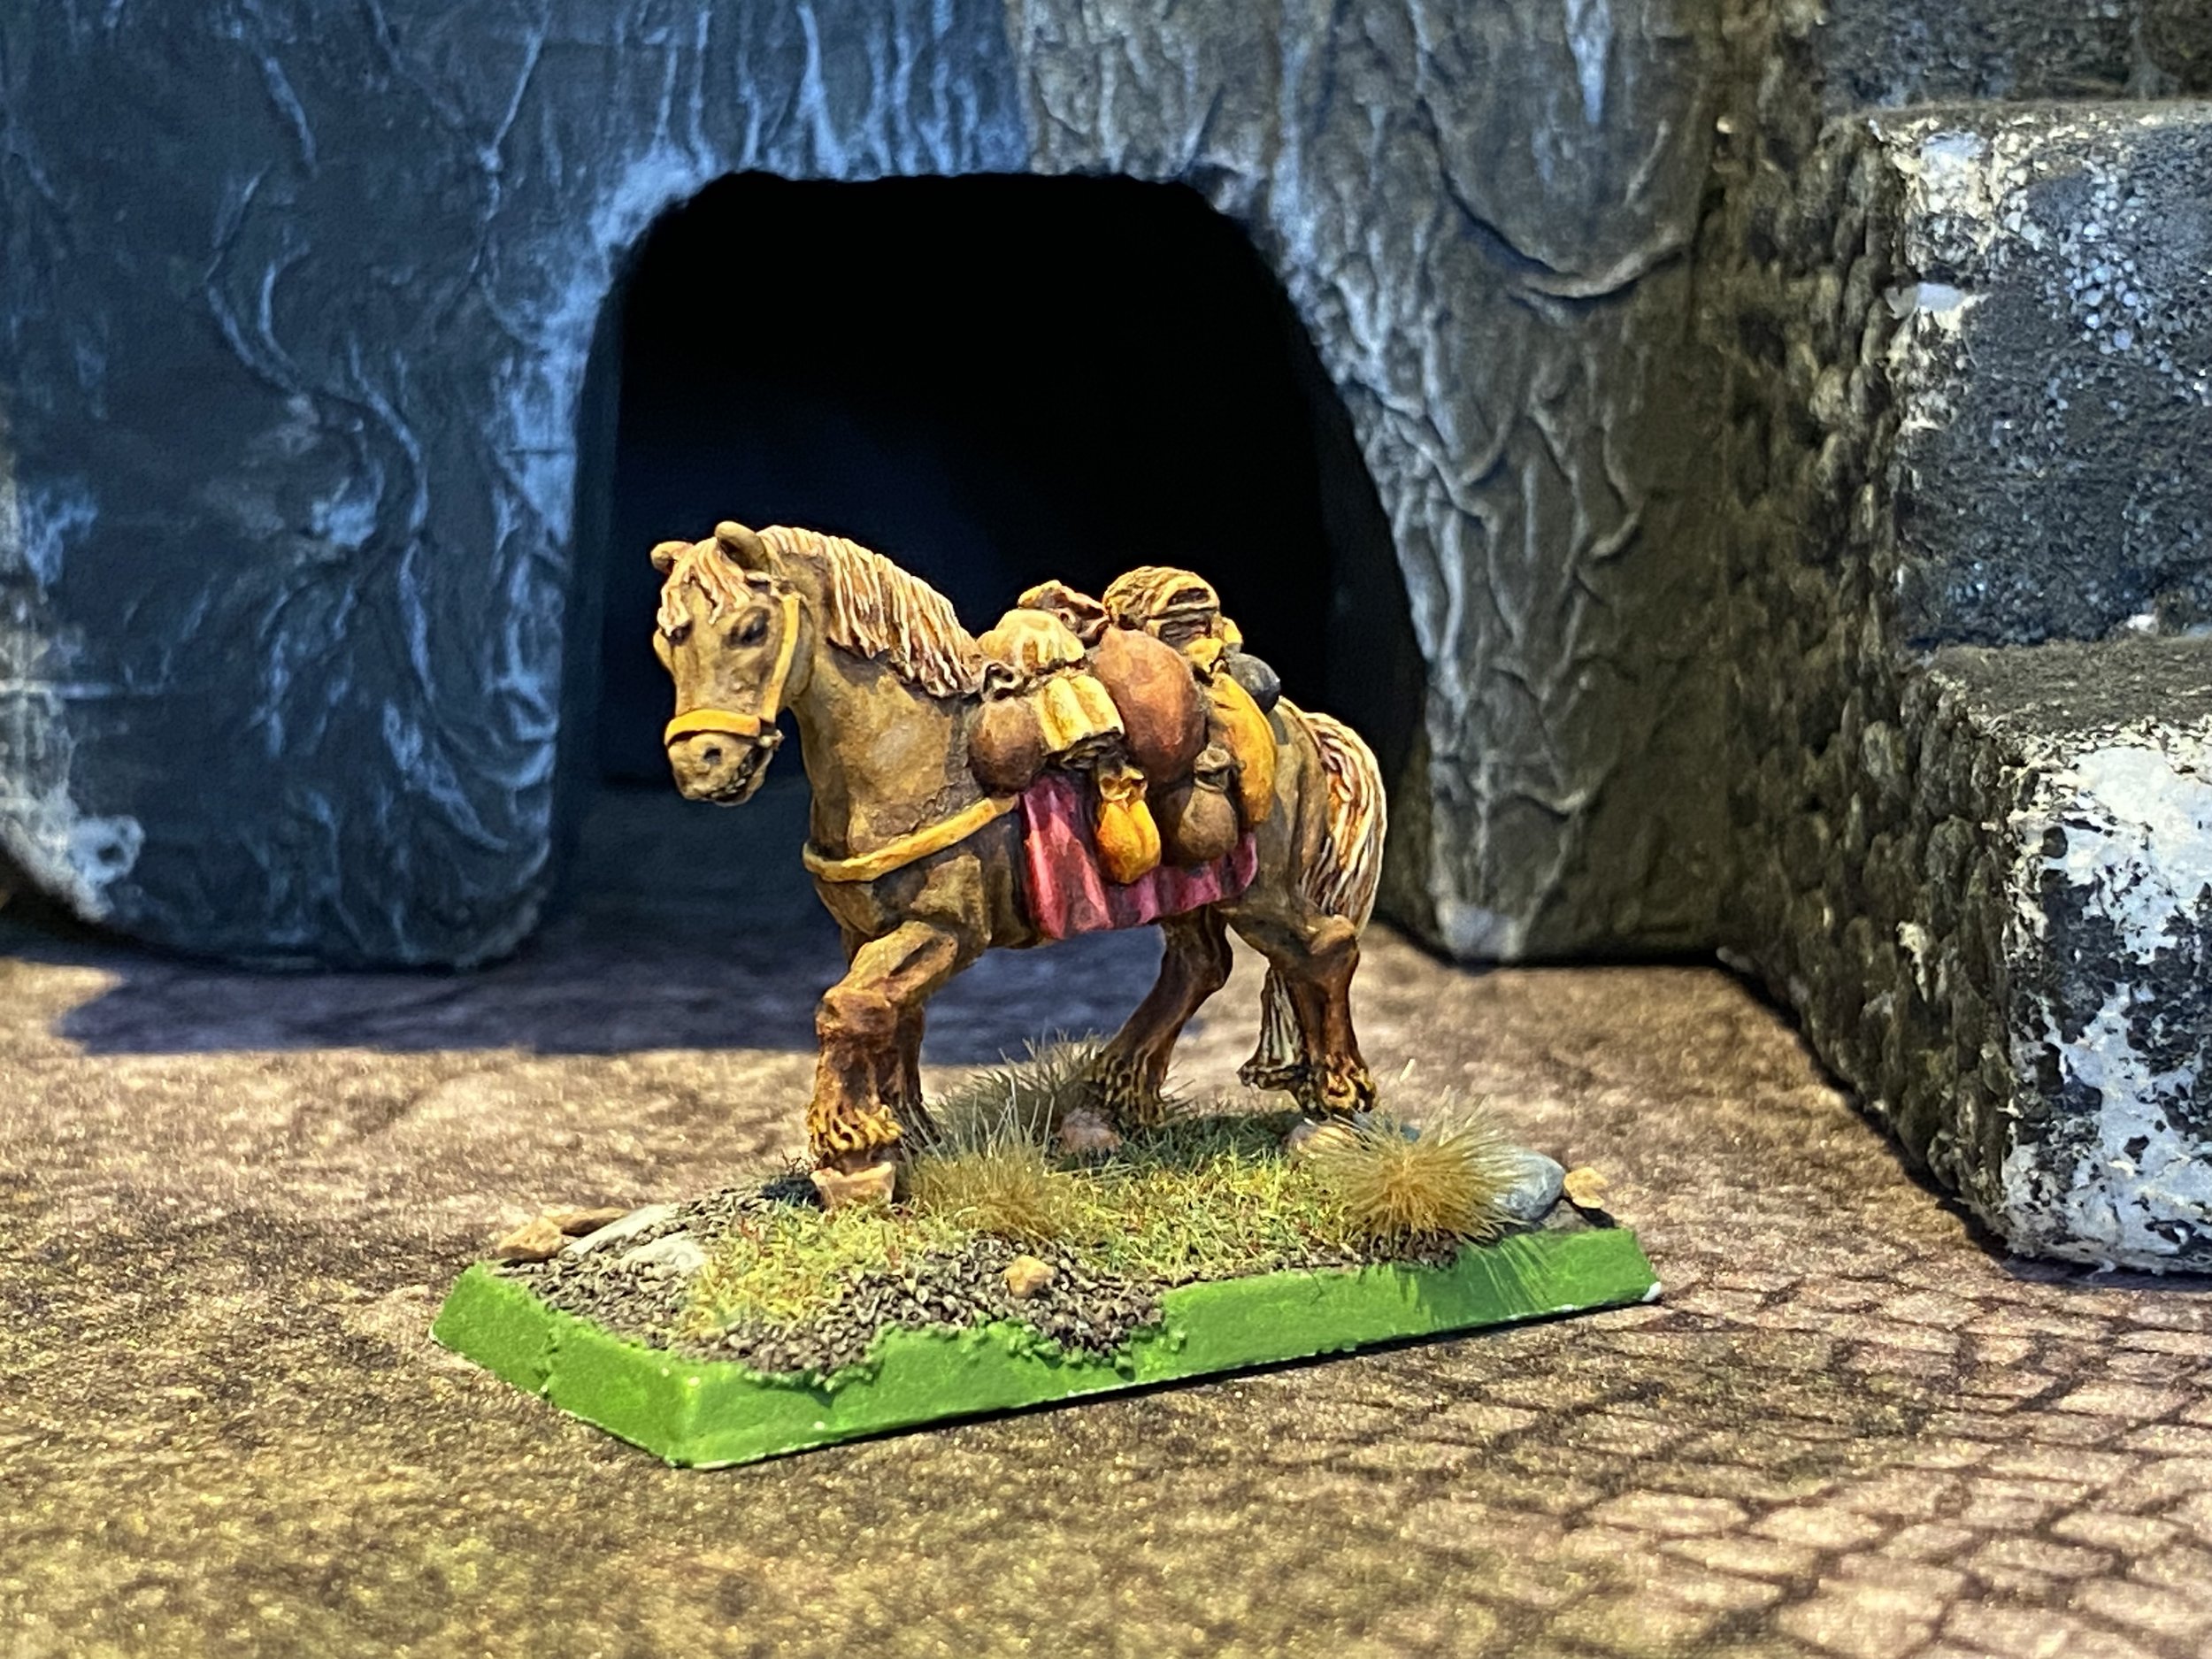
2–Stabling Services: You may rent warband appropriate mounts for each game. After the battle each rented mount will cost you 3D6 GC or loose 1 point Brigandsburg Loyalty. If a mount dies or was lost, you must pay its full cost to avoid loosing loyalty.
Additionally, any mounts/animals you own are stabled free of charge. So you can choose how many to take along during a battle. The optional mounted rules allow two mounted warriors within urban settings, but multiple cavalry models in rural scenarios. If you own more than 2 mounts you can stable any you wish when fighting in Mordheim instead of having to bring them along.
Finally, if your warband has animals, you may own several even if they would cause you to exceed your warband’s maximum warrior limit, but not animal limit. You can only field the maximum number of warriors your warband allows, but you can choose to leave behind extra animals or henchmen, optimising your warband each game.
4–Experienced Warriors For Hire: Your warband’s reputation is such that experienced warriors are more interested in joining you. For every two points of Brigandsburg Loyalty, add +1 to the roll for the experience of veterans available during the post battle sequence (starting at +2).
6–Extra Training: The soldiers of Brigandsburg enjoy training with your warband giving you the benefit of learning new tricks. Whenever any hero or henchmen group gains an advance make two advance rolls and choose the result you want. The second roll must be a different result from the first, re-roll until this is the case.
8–Chirurgeon: Brigandsburg’s chirurgeons are the first to come assist your warband in it’s time of need. Once per post battle sequence, you may re-roll a serious injury. This is in addition to the only Healing Effect your warband can posses, if your gaming group uses the healing effect-optional rules.
10–Let Me Serve You! The awe and respect shown to your warband has warriors clamouring to join your ranks. All hiring and upkeep costs are halved (rounded up). This includes your normal warband recruitment as well as hired swords, but not dramatis personae. If you are using the optional Mordheim Mercenary Market rules, you only pay half your winning bid, rounded up.
Also, your roll to find veteran warriors now represents the maximum experience of each warrior you can hire, not the total experience of all potential veterans. Any warrior you hire will have the same experience and stats as the henchmen group you hired them for, up to the total value of the roll.
Finally, your maximum warband size is increased by +5 for the remainder of the campaign due to the extraordinary discipline that warriors exhibit under your command, as well as the logistical help provided by the Southern Cabal.
Cutthroat’s Den
When the labourers of Mordheim evacuated, they turned to the city’s crime houses for protection and organisation. Before the Doom five major families kept relative order on working class streets; Anastazia, Betrugeller, Bonnoir, Concussione, and Stodderkonge. After the comet fell, they pooled their resources and set up the camp of Cutthroat’s Den. The Den has the largest population of the four settlements and the limited space has gangs there on edge. The “Dons” are having a hard time keeping a lid on growing frustrations of the camp’s ruffians and hooligans.
Many of the folk here work in other settlements as labourers, teamsters, or servants, returning each day to their bunks in the Den. What they witness is of great interest to the Dons who reward those that report useful pieces of intelligence. Information is a valuable asset in Cutthroat’s Den and warbands that have shown respect to the settlement’s pecking order can be compensated with useful news and rumours (among other things).
Loyalty Point Rewards
2–Informants: break ties for Ambush Attempts. If you are tied in Ambush Points with another player attempting to waylay the same warband (or you!), success will go to the warband with informants and the highest loyalty for the Den. Should Den-loyalty be tied, the successful warband is randomly determined by your CA instead of an automatic failure. Also, warbands with Informants will never loose Ambush Points for failing an ambush attempt.
4–Lookouts: Snoops send word about any rivals on the move, so you can get ahead of them. Whenever a scenario’s deployment and/or starting order is determined normally (by rolling off) you may choose between deploying your warband in the order you wish, or in what order you start the game. Should an opponent also have Lookouts, the warband with the highest Cutthroat’s Den Loyalty makes this choice. If loyalty is tied, deploy and start the game normally. At Den-loyalty 8 you may determine both deployment and starting order whenever there is a roll off.
6–Contraband: The Dons show their favour with gifts that are difficult to acquire. Before each game choose two different pieces of contraband from the following list:
Black Lotus, Bugman’s Ale, Dark Venom, Crimson Shade, Mad Cap Mushrooms, Mandrake Root, Fire Arrows, Fire Bomb, Flash Powder, or Superior Blackpowder.
The contraband must be used during your game or it is returned to the Dons (no selling their gifts!). For every point of Den-loyalty beyond six, you may choose an additional piece of contraband. Only one of each is available per turn unless you exchange any two pieces for one you desire. For example, at loyalty 7 you can either choose three different items from the list, or two of the same item.
8–Den Networking: The gangs of the Den share ever more intelligence with you resulting in several benefits.
You gain the Den Networking Reputation (see below).
Your warband now receives one Ambush Point whenever you earn a loyalty point to Cutthroat’s Den.
The cost of all ambush attempts you make is reduced by 1 Ambush Point, to a minimum of 1 AP.
You may now use ambush points to avoid being ambushed. If you have at least as many ambush points as a warband who tries to ambush you, you can avoid the ambush for the cost it would take to ambush that warband yourself (your CA will inform you of the cost).
10–Spy Master: The spy network of a Cutthroat’s Den’s crime family now works for you! The Campaign Administrator discloses both the treasuries of all warbands and reveals the scenario rankings and ambush attempts of all players to you each chapter. With this information you can better rank your own scenarios. Should two or more warbands be tied for the opportunity to play against your warband, you pick your opponent.
Finally, you may spend your ambush points to add to the ambush attempts of other warbands. This manipulation may cause some ambushes to succeed and others to fail.
Den Networking Reputation
Description: The gangs of the Den share the low-down on who is looking for warbands to undertake a mission. You receive these tips well before many others have the opportunity to hear of them.
Value: 2
Termination: Should a warband ever drop below 8 points of loyalty to Cutthroat’s Den they loose the reputation.
The Black Pit

The poor and destitute of Mordheim have suffered the most in the aftermath of the Doom. The comet itself dropped right on top of their quarter instantly wiping out thousands and covering survivors in wyrdstone dust causing sickness, infection and…worse. Most of the other camps turned away these deprived souls as if they carried Nurgle’s Rot. Having no where else to go, the wretched gathered together to scrape out a living in the Black Pit (so dubbed for how dirty its residents are). Pitters often spend their days in the ruins of Mordheim scavenging what they can while avoiding gangs, warbands and…worse.
Residents of the Black Pit are generous to those who help them, but possess little in material wealth. However, no soul knows the ins and outs of Mordheim better than Pitters do! They are more than willing to assist exploring the ruins, sharing it’s secrets with those who show them respect and treat them well.
Loyalty Point Rewards
2–Exploration Hints: Black Pit rabble suggest where to find hidden valuables in Mordheim. When rolling more than one set of multiples on exploration dice you discover all of the unusual finds rolled instead of the single highest set of multiples.
For example, rolling both double fives and triple twos normally means your warband discovers only the triple 2s, a smithy. With exploration hints you locate both the smithy and an overturned cart (double 5s).
4 – Random Fortune Foragers: Knowing where to look for forgotten or disregarded goods, Black Pitters confide how real windfalls are unearthed instead of wasting your time sifting through useless rubbish. You gain a +1 on Random Fortune Discovery Tests when investigating random fortune markers. At loyalty 7 this bonus increases to +2.
6 – Band of Pitters: Your warband is now followed around by group of Black Pit scavengers. The equipment of all warband warriors who die from post battle serious injuries are stripped and salvaged for you, including equipment from opposing warbands. Should both warbands have their own Band of Pitters, the warband with the highest Black Pit loyalty receives all the above benefits. If Black Pit loyalty is tied, you collect the equipment of your own fallen warriors but not those of your opponent(s)
The Band of Pitters also helps you recover uncontrolled carried items when the game ends with a +/- 1 modifier (you choose which). At loyalty 9 the modifier increases to +/- 2.
8 – Exploration Hunters: Folk from the Black Pit help you explore the ruins of Mordheim. You may alter all the dice of your post battle Exploration Roll by +/-1. This also applies to any re-rolls. Should you possess any skills or equipment that allows similar adjustment (like Tarot Cards), this can be applied after help from exploration hunters.
Additionally, when rolling on the Random Fortune Table you may choose which dice represent the “10’s” and “digits” after you’ve made the roll.
10 – Wyrdstone Watchers: In their ultimate show of respect, the people of the Black Pit reveal caches of wyrdstone they discover to your warband. Double the total of your Exploration Roll each turn.
Loyalty Symbols
When citizens fled from the Doom many objects of social and sentimental value got left behind or were seeming lost in the confusion. As Mordheimers slowly recover, these symbols of their former lives have taken on greater meaning.
Such objects of emotional significance are called Loyalty Symbols and can be found within scenarios. Loyalty symbols are detailed in scenarios in which they appear and must be secured during the game or are forever lost. A warband which gains possession of a loyalty symbol can donate it to a settlement of the player’s choice. In doing so, your warband immediately gains a loyalty point in that settlement. Some settlements may reward warbands with additional boons if a loyalty symbol is significantly important to them.
To Gift a Loyalty Symbol, inform your Campaign Administrator which settlement you will give the symbol to at the start of a campaign chapter. This is best done using the Player Start of Chapter Worksheet. In the box labled, Gifting Loyalty Symbol, record the name of the symbol as well as the settlement you are gifting it to.
In addition to the loyalty point, your warband will automatically be selected to serve in any scenario the settlement issues on the turn you gift it. It is often a good idea to wait until chapter scenarios are sent by your campaign administrator before selecting what camp you gift a loyalty symbol too, for you might want to guarantee playing a certain game. In the uncommon event that three or more warbands happen to donate loyalty symbols to the same settlement at the same time, mission points are used to determine which of these warbands are awarded the scenario.
Loyalty symbols need not be gifted to anyone straight away and can be held on to for as long as you are able. Within games loyalty symbols are always carried items. They cannot be placed into storage containers as they are considered too valuable or fragile to be thrown in with other equipment, and so each must be individually carried by a warrior during battles.