7. Scenario Structure & Recording Data
A description of the format for all scenarios in Mayhem in Mordheim. Whenever a scenario states that a procedure is to be followed normally, it indicates the rules below. Also below is a full description of the Mayhem Warband Roster and Data Sheets used to inform the campaign administrator of your campaign choices and game results.
Scenario Structure & Data in a comet-shell
Next, Optional Rules: Healing Effects
Scenario Structure - Full Rules
Scenarios of the Mayhem in Mordheim campaign are presented in the following format. Whenever a scenario states that a procedure is to be followed normally, it indicates the rules described in this section. For example, when a scenario states that “warbands deploy normally”, refer to Deployment below. Specific rules in any scenario can make changes to these general rules and take precedence over anything described here.
Each scenario has a name, plus some descriptive text giving a background for the mission. If the game cannot be played by multiple warbands the scenario will be stated as being FOR 2 WARBANDS ONLY.
Name
Here is a bullet point summary of the game, describing winning conditions as well as novel special rules. You can get the overall feel for what kind of battle the scenario will be from reading this encapsulation.
Scenario Summation
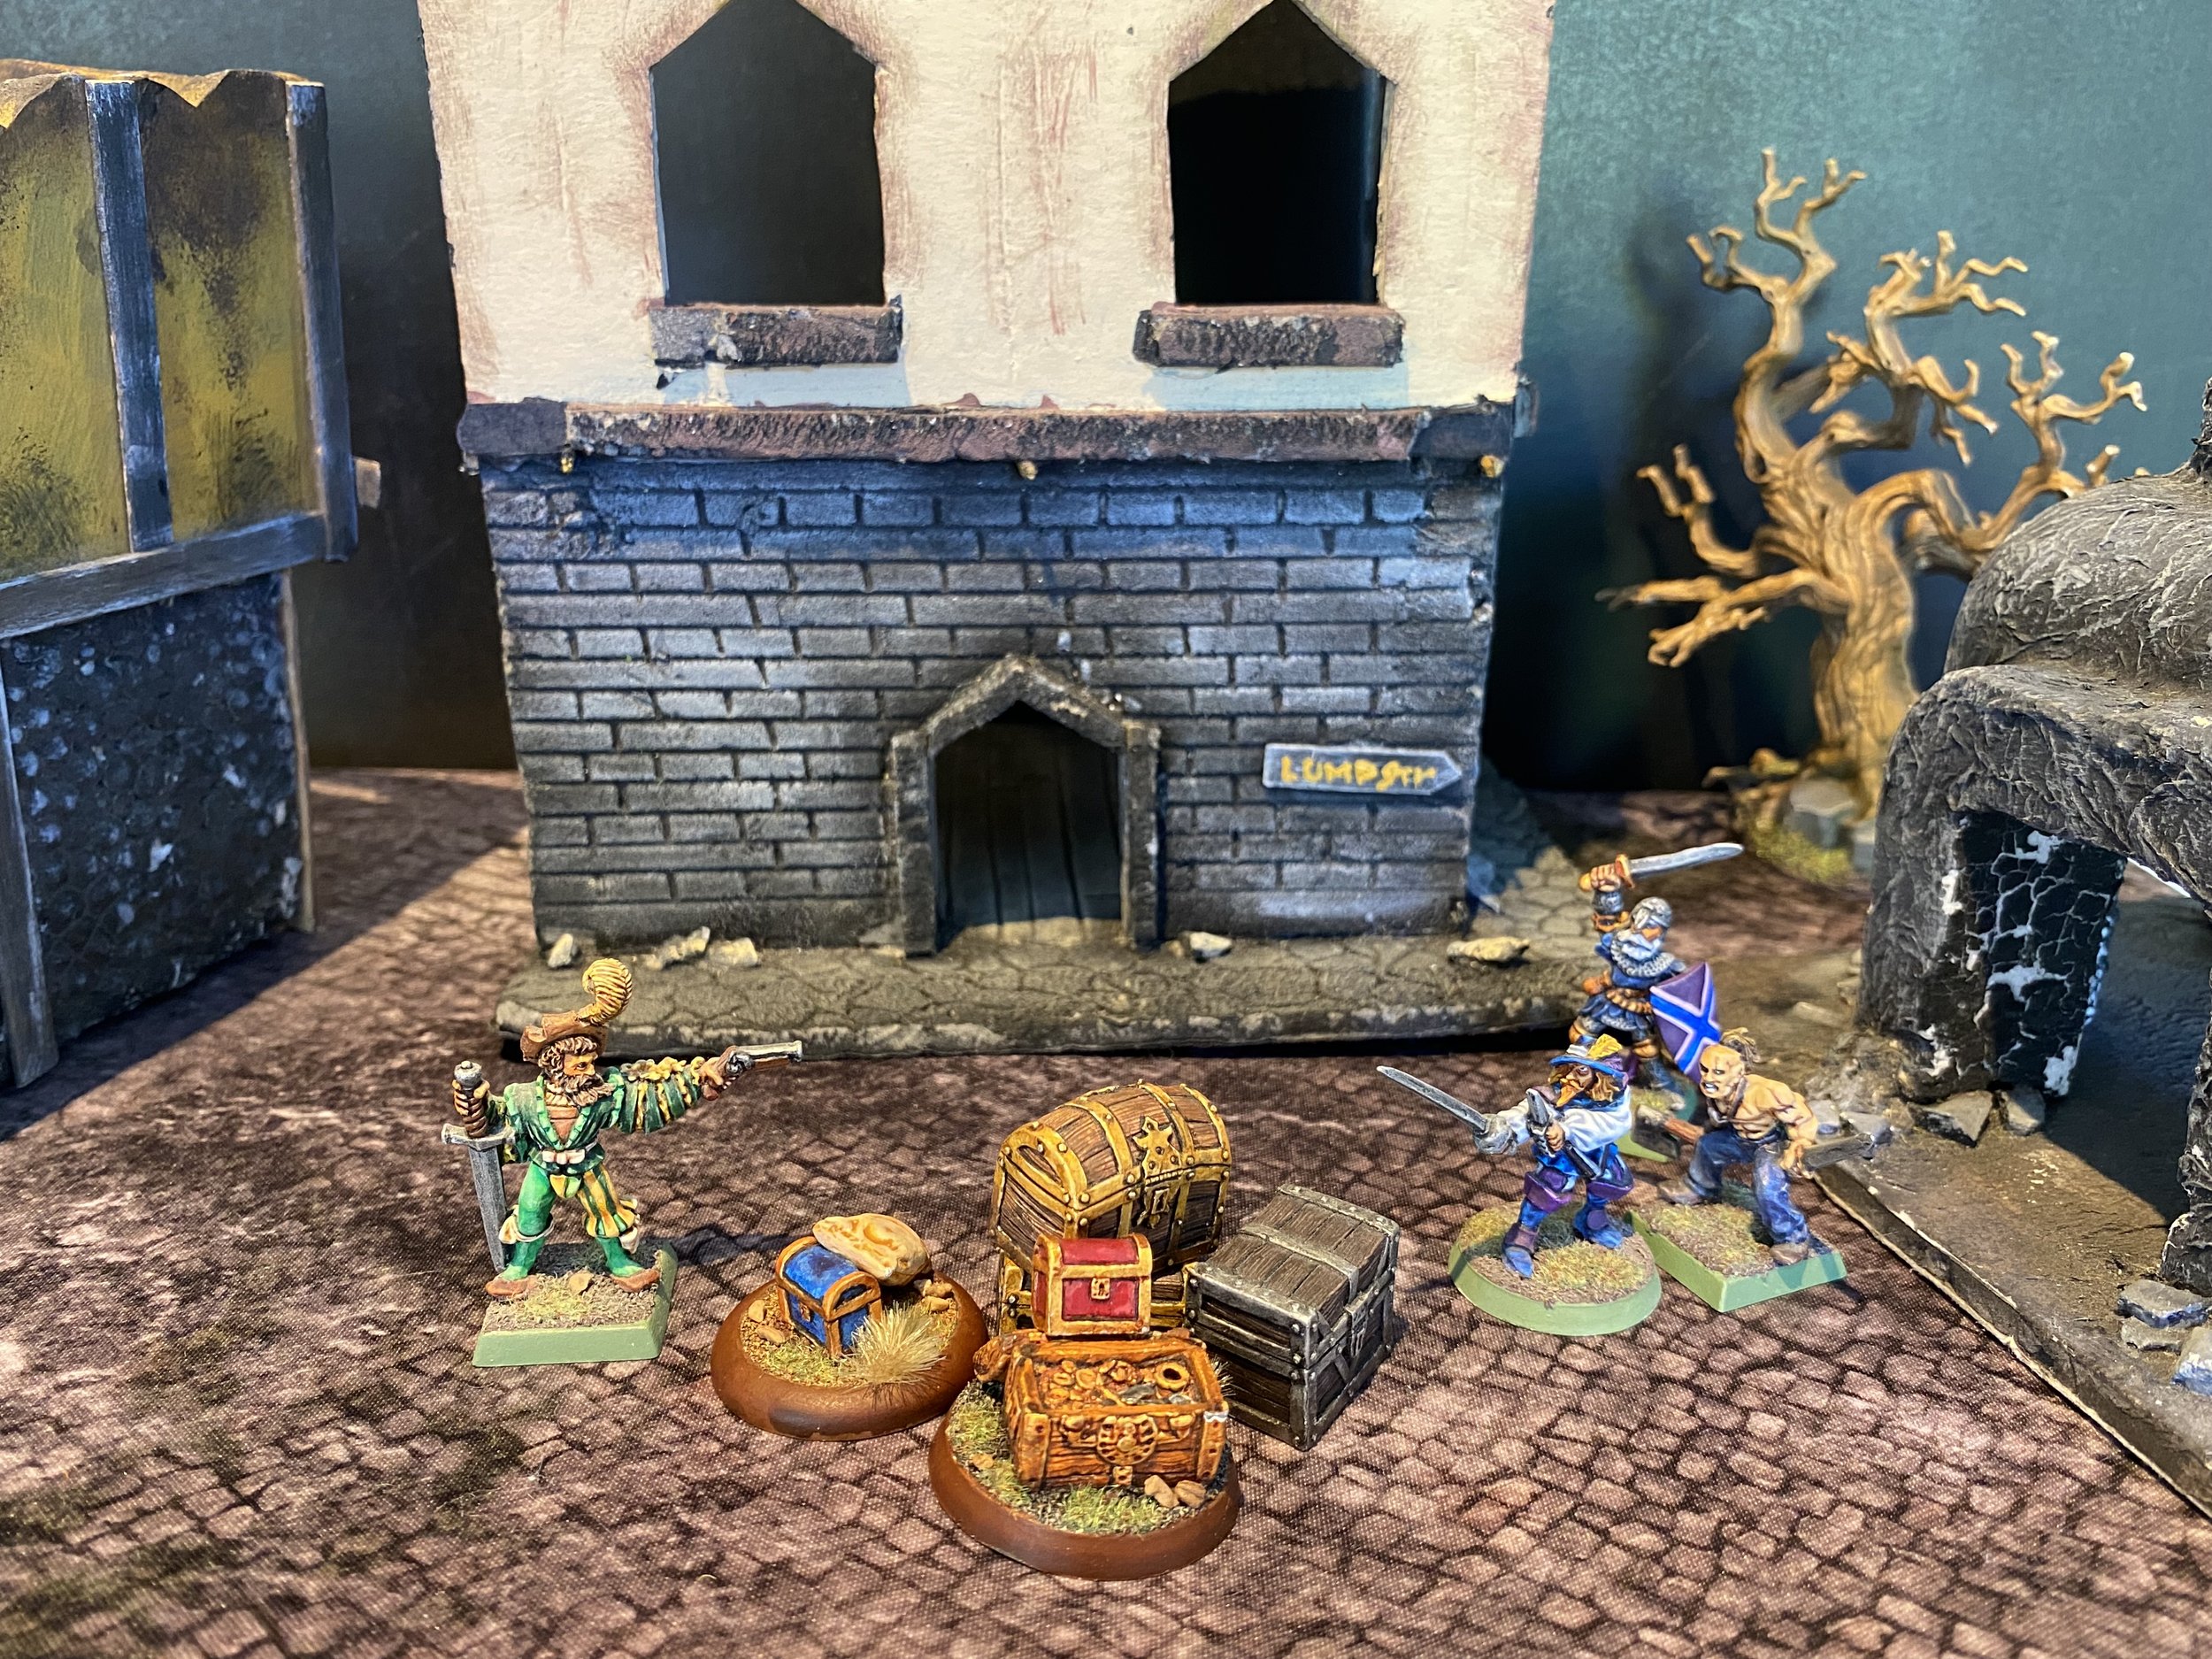
A description of the markers, models, and terrain features needed for the scenario. These are in addition to a table and your warbands. Assumed is the standard Mordheim table size of 4’x4’. Should you have a smaller table you may have to adjust the distances of terrain or size of deployment zones as best you see fit.
What You Need For The Game
The name or names of the camps which issue the scenario. Warbands with higher mission points to these settlements have a better chance of being awarded the scenario. While some missions are offered by a single patron, most games have at least two camps that will award warbands for completing the job for them.
Settlements
& / VS/ All
In most missions the two issuing settlements are described with an “&” (for example, Cutthroat’s Den & the Black Pit). This indicates that two different factions want the same job done, but may not realize they have a competitor for their goals. Factions may not even know that a warband is working for them until they show up post battle demanding their reward! Winning warbands can freely choose which settlement they receive their reward from, but not both.
Some scenarios list settlements as “VS”, or versus (Sigmar’s Haven VS Brigandsburg). In a versus game the parties involved are fully aware that another faction is in opposition to them. Warbands knowingly serve one of these factions against the other. This affects rewards in the post game, in that warbands that betray their patron might suffer consequences.
“All” indicates that factions within each of the four settlements are either fully knowledgable or completely ignorant about the scenario. Should any reward be available for winning, successful warbands can find someone in a settlement of their choosing to pay up for completing the mission.
Here are details of the rewards the scenario offers, which by default go to the winner of the game. Some settlements may offer rewards to warbands even if they fail in their missions and these will always be clearly stated.
Many scenarios have rewards from two different settlements. Unless otherwise noted, winning warbands can choose which of the rewards they want, but not both. This represents the warband delivering the objective of the mission to the settlement they accept the reward from.
Rewards
In versus scenarios, the winning warband is expected to take the reward of the settlement they are serving, but they do not have to. However, snubbing your employer has consequences. If a warband chooses the reward of a settlement they are not serving, the warband looses one point of Loyalty to the settlement they were representing, if they had any.
Some rewards are in equipment (weapons, armour, or miscellaneous). Players can choose any of the type of equipment described (within stated rarity values) up to the cash value of the reward. Any extra gold that remains after choosing the equipment is lost. In the case of equipment that has a variable cost, only use the base cost of the equipment when calculating the cost of your rewards.
Unless stated otherwise scenarios of the Mayhem in Mordheim campaign use the following method for placing terrain and deployment zones on a table. Many scenarios have special terrain and/or added objectives. How and in what order these will be set up are detailed in each scenario.
Terrain
Urban vs Rural Terrain
Scenarios take place in two basic categories of terrain, Urban or Rural. Most urban scenarios take place in the ruins of Mordheim and rural missions occur in the wilderness outside of the city.
Urban terrain consists of the classic Mordheim destroyed buildings and streets. Some urban scenarios are set in one of the settlements surrounding the doomed city. Terrain there does not have to be any different from Mordheim terrain unless you want it to be. All camps are still developing and under construction so the ruined models you have easily represent half built structures. Other camps are so poorly assembled that homes have collapsed from overcrowding or local fires have destroyed buildings due to poor urban planning.
Rural terrain includes but is not limited to hills, forests, rivers, rock spires, ponds, swamps, roads and the occasional building like a farmstead or abandoned tower.
Terrain Placement
In traditional Mordheim style, we suggest playing in a roughly four foot by four foot area (120 cm x 120 cm) unless the scenario dictates otherwise. For many players, terrain placement is an important tactical element of a game, while others are happy to have their gaming table set up for them. Whatever you decide, just make sure that both players agree as to how the battlefield is arranged. Here is one example of tactical terrain placement:
Roll Off to determine the order in which player’s place terrain. The first player chooses a single piece of appropriate terrain and puts it anywhere on the table allowed by the scenario. Once a terrain feature has been placed it should not be moved unless changing its position is approved by all players. No terrain can be placed on top or below other terrain unless approved by all players. Continue taking turns placing terrain until one player declares a terrain piece to be their last one. All other players may then place one more terrain feature and before terrain placement ends. It’s a good idea to agree to a minimum/maximum amount of terrain for a given scenario before placement begins.
Often scenarios make use of makers which need to be positioned onto the table. These usually represent objectives or encounters within the game. You can use anything distinctive as a marker; dice, chits of cardboard, appropriate models, very small rocks, etc. Markers are usually given a specific name as different types of markers might be present during a game. Marker types should be clearly distinguishable from each other so as not to be confused during the battle. For example, using a specific colour of dice for all random fortune markers, or having scenario objective markers be pieces of paper while carried item markers are actual models of what they represent.
Markers
Normal Deployment Zones come in one of two varieties: the 2 player and multiple player games.
In a two player game, deployment zones run the full length of the table measured 8 inches deep from a given table’s edge. Players Roll Off, the winner deploying first by choosing a single table’s edge and placing all of their models somewhere within 8” of it. The opponent places their warband within 8” of the opposite table’s edge, which automatically becomes the second deployment zone.
In a multiple player game mark four 8”x8” squares in each corner of the table to be your deployment zones. Players Roll Off, deploying their warbands in order from the highest roll to the lowest. When deploying choose a deployment zone and place all your models within it. Only one warband can be placed in a given deployment zone.
Deployment
2 Player Deployment Zones
3-4 Player Deployment Zones
If you have a smaller table than 4’x4’ a deployment zone’s edge can be measured as 16” away from the center line of the table. In multi-players games square sides should be at least 16” away from the center of both corresponding table’s edges.
Random Fortune
If Random Fortune is present in the scenario this will be indicated. The dice roll for Random Fortune Discoveries, either D66 or D100, will be described also. Games without extra prizes are simply described as having “No random fortune in this scenario”.
Some scenario special rules use the random fortune mechanics for other functions. For example, a scenario’s objective might be found in the first or last random fortune discovery instead of rolling on the random fortune table.
Many scenarios have special rules that apply only to its game and they are explained here. When a scenario’s specific rules are in conflict with other Mordheim rules, the scenario’s rules take precedence for the game.
Special Rules
Opponent chooses: In many special rules your opponent can choose what a scenario element does or has happened to it (like where a non-player model moves, for example). In a battle with three or more players, the opponent that makes this decision is always the player who had the preceding turn. Should such a choice need to be made for the very first player on the very first turn, it is made by the player who will go last during the turn.
Players Roll Off to determine order of play unless specified otherwise. All following turns use the same order.
Starting the Game
Describes how and when the game will end and also how to determine which warband wins the scenario. If scenario rewards are not automatically earned by the game’s victor, a description will be given as to how to resolve the warband(s) rewards go to.
Ending the Game
This lists the experience that can be earned by warriors in and after the scenario. All warriors surviving a battle earn 1 point of experience, including capable henchmen. Unless stated otherwise, only heroes earn the other experience listed. Experience from taking enemies out of action includes any scenario models which attack warband warriors. Models taken out of action that do not fight will not earn your warriors any xp.
Experience
If you are using the Myrmidia’s Chosen accolade from the optional rules for Warrior Accolades, the Victory Value of the scenario is indicated here.
Victory Value
A reminder of any post battle matters players need to resolve and possibly inform the Campaign Administrator of.
Post Game
Down On Their Luck Scenarios
If you are playing Mayhem in Mordheim with the maximum 10 warbands a fifth scenario becomes available every chapter. Collectively called the Down On Their Luck scenarios, these games represent the failure of warbands to find employment during a given week of our story. Warbands were either too late in asking for work or held too little clout to acquire a mission from any of the settlements and thus spend their time further exploring the region. As fate would have it, this does not turn out to be a complete waste of time.
The battles are familiar ones from the Mordheim rulebook: the Skirmish, Chance Encounter, or Breakthrough scenarios. Each has been slightly modified to better suit Mayhem in Mordheim. The player with the lower warband rating gets to select either a) which scenario to play, or b) what terrain the battle will occur on, urban or rural. The player with the higher warband rating then chooses from what remains.
Players do not include Down On Their Luck scenarios into scenario rankings as the battle does not represent an actual mission but a happenstance separate from the Mayhem in Mordheim story. Your campaign administrator will inform you when your warband fails to find work and ends up playing a down-on-their-luck scenario.
Warband Rosters
Mordheim warband rosters are familiar to most experienced players. Mayhem rosters will look very familiar listing our heroes and henchmen, their equipment, along with tick boxes to record experience. Below are brief descriptions of the added bits which pertain to Mayhem in Mordheim.
Victory Score. Your warband’s leader has a box for Victory Score under their armour save boxes. This is only in use when playing with the Warrior Accolades optional rule, Myrmidia’s Chosen.
Pouch? Listed under equipment, the pouch is a storage container you can purchase for heroes should you wish. Check the box under Pouch? if that hero has one. In the Wr. box indicate if you are carrying a wyrdstone shard or in box for GC, write in how many gold crowns instead. You do not need to reveal to your opponents the contents of your pouch.
Gone OoA. Only needed if you are using the Warrior Accolades optional rules, Scythes of Morr and Myrmidia’s Chosen. But this is a fun statistic to share in any case if your gaming group wants to.
Lucky Bastard Score. Only needed if you are using the Warrior Accolades optional rules, Luck of Ranald. Henchmen can also participate in this accolade if you choose. In order to do so, each henchman must have a name to record the Lucky Bastard score to.
Enemies Taken Out of Action. Only needed if you are using the Warrior Accolades optional rules, Scythes of Morr. In each of the boxes separately record the number of enemy leaders, heroes, and henchmen you have taken out of action during the campaign. Note, only record the number of each type of warrior your hero has taken out of action, not the value of the enemy for the accolade. This is calculated separately elsewhere.
Page 1
Henchmen Equipment cost. Henchmen lists include boxes to write down the individual cost of each piece of equipment bought for warriors. Also, in the far right hand column under Base cost, is a box for Equipment. Here record the sum of the equipment cost boxes, giving you the total cost of equipment for one member of the henchmen group. This will help you calculate the cost to hire a new warrior for the group.
Group Eq. value. Only needed if you are using the Warrior Accolades optional rules, Envy of Marienburg. Multiply the number in the Equipment box by the number of warriors in the henchmen group, to calculate the total value of the group’s equipment.
Hired Sword Heroes. If you are using the feather in my cap option for hired swords, make sure to download the roster labeled with Hired Sword Heroes. Here the experience track is changed to be the same as that of warband heroes.
Finished Turn. A place to record the number of Mayhem Chapters your warband has already played during the campaign.
Settlement Loyalty. A record of your warband’s loyalty points to each of the four settlements.
Page 2
Storage Containers. The roster has six boxes to detail the treasure and equipment you hold in various storage containers. Your warband can have more than six, but this is what fit on this roster (print more of page 3 if you need to). Each box has the following sections:
Storage container type. Write down what kind of storage container this is. Examples include treasure chests, large sacks, and backpacks. Note, pouches are storage containers, but as they are miscellaneous equipment only held by heroes, their contents are recorded on page 1 if heroes buy them.
Remember, you do not need to reveal to your opponents the contents of your storage containers, unless they can both control and get into them.
Wyrdstone Shards. Record the number of wyrdstone shards within the storage container. Holding 10 or more shards makes the container heavy.
Gold Crowns. Record the amount of gold crowns within the storage container. Holding 50 or more makes the container heavy.
Items. Record each piece of stored equipment within the storage container. Storing 5 or more makes the container heavy. Remember that most random fortune discoveries can be place into storage containers as 1 stored piece of equipment during games, but both dark artefacts and loyalty symbols never can be.
Total Treasury. Your current totals of wyrdstone and gold crowns can be totalled here.You can also record any Ambush points you have in the box provided.
Dark Artefacts. If you possess one or more Dark Artefacts, check off which one(s) you have and what their MVP value currently is.
Reputations. Should your warband hold one or more reputations, list them here along with the reputation’s value. If there is a means of terminating the reputation you can remind yourself of it here as well.
Notes. A section to jot down anything you wish to remember, from a loyalty symbol you have secured to anything interesting that happened during a game. Other optional rules like Healing Effects or Side Quests can be recorded here. Bounties on the heads of your warriors are best recorded in the warriors own section, but if your roster is getting crowed here is as good a place as any.
Page 3
Worksheets
After a game has been played (or even during it) you should record any data relevant to the campaign for your campaign administrator. In addition to your warband roster are two worksheets, the Post Battle Worksheet, which helps you keep track of the happenings in your game as well as the results of the post battle sequence; and the End of Chapter Data Sheet, which records the total data on your warband your CA needs for the next chapter of our story.
Both worksheets are detailed below. Included are many indications of optional rules that are detailed in their own sections.
Post Battle Worksheet
This worksheet helps you keep track of both happenings in your game as well as the results of the post battle sequence. Each of the tables are as follows.
Warband Name: Write in the name of your warband.
Name of Scenario: Record the name of the scenario you are playing, the opposing warband(s), and check the “win box” if you won the game as defined by the scenario. If you are using the Myrmidia’s Chosen Accolade, record the Victory Value of the scenario in the box provided.
Scenario Spoils/Notes: Here record the rewards your warband earns from the game. This includes settlement rewards and Loyalty Points, stolen treasury from your opponent, Random Fortune that you secure, Loyalty Symbols or Dark Artefacts you discover, as well as optional Side Quest objectives obtained.
Exploration rolls and Bounties (if using this optional rule) have their own tables.
Also, record anything of note which affects your warband or the campaign, such as hired swords which leave your warband or a campaign story line your warband has effected.
Serious Injuries: Record the name of each warrior which has to make a serious injury roll after the game and its result. You can optionally record henchmen in addition to your heroes. If you are using the Healing Effect optional rules, record the name of any healing effect used and perhaps any side effects it might have caused. If you are using the Luck of Ranald Accolade optional rules, record the Lucky Bastard Score the warrior received from your game if they did not die.
Bounties Collected: If you are using the optional rules for Bounties record any bounty you collect during a battle into this table. Write the name of each enemy warrior with a bounty on their head which you take out of action. Record the name of the bounty and how much it was worth at the time you collected it.
Rarity Rolls: Write the name of each hero which makes a roll to search for rare items, the piece of equipment they are searching for and the result of the roll; either the 2D6 sum and/or whether it was successful or not.
Exploration Results: Record the number of wyrdstone found from your exploration roll as well as an unusual find if you had any.
Wyrstone sold/Gold Crowns Earned: Write down the number of wyrdstone shards you sold during the post game as well as how many gold crowns that earned you.
Veteran Availability: Record the result of your checking for veterans roll if you made one.
End of Chapter Data Sheet
This worksheet records the total data on your warband that the campaign administrator needs to keep our story running and prepare for the next chapter. Each of the tables are as follows. Many of the data points and how they are collected will be fully explained in their own sections.
Warband Name/Rating: Write the name of your warband and its current warband rating.
Ambushed By/Win?: If your warband played the Ambush scenario as defender any time during this campaign chapter, record the name of the ambushing warband in this table. In the Win?-box write “yes” in you won the game or “no” is you lost.
Settlement Loyalty: Record your warband’s current Loyalty Points in each of the four campaign settlements should you have any.
Treasury and Assets: A table to record your warband’s treasury and assets.
Wyrdstone Shards: How many stored Wyrdstone Shards you possess after any sales during the post battle sequence.
Gold Crowns: The remaining Gold Crowns in your treasury after purchasing equipment and hiring warriors.
Ambush Points: Your total Ambush Points, if you have any.
Healing Effect, Loyalty Symbols & Special MVPs: The name of any Healing Effect you have, if using this optional rule. You can only have access to one at any given time. Also list any Loyalty Symbol that is in your possession. Finally, if your campaign is using optional Mayhem Victory Points, record the name and value of any special MVPs you have earned.
Dark Artefacts: Record the names of any Dark Artefacts in your treasury. In the MVPs-box record the current Mayhem Victory Point value of each dark artefact you possess.
Hero Campaign Stats: A table to record statistics for your warband’s heroes.
Name: Write the name of each hero in your warband in their own row.
XP: Record the current experience points of each hero in their corresponding row.
Enemies taken OoA: Record the total number of enemies taken out of action during the campaign. If you are using the optional Warrior Accolade rules for the Scythes of Morr, record the number of Leaders, other Heroes, and Henchmen each of your heroes has taken out of action. Your CA will tell you how to calculate your Morr Score if your campaign determines it differently from the default formula of: (Leaders*3)+(Heroes*2)+(Henchmen).
Gone OoA: Record the total number of times the hero has been taken out of action during the campaign.
Luck Bastard Score: If you are using the optional rules for the Luck of Ranald Accolade, record the hero’s total Lucky Bastard Score.
Leader Victories: Record the number of games the hero has won as the warband’s leader. If you are using the optional rules for the Myrmidia’s Chosen Accolade, record your leader’s Victory Score. This is primarily calculated by adding together the Victory Values of each scenario your warband has won, whether or not your leader was present in the game.
Active Side Quests: If you are using the Side Quests optional rules, record the name of any side quest which you are currently involved with and the number of objectives you have earned to it.
Bounties For Your Warriors: If you are using the Bounties optional rules, write the name of each warrior in your warband with a bounty on their heads. In the corresponding row record the name of the bounty, it’s current value and escalation rate.
Henchmen Group Stats: A table to record statistics for your warband’s henchmen.
Name: Write the name of each henchmen group in your warband in their own row.
Number Of Warriors: The number of warriors in the group.
XP: Record the current experience points for the group in their corresponding row.
Total Cost: If you are using the optional rules for the Envy of Marienburg Accolade, record the current total cost of the henchmen group. This equals the value of all their equipment plus what each warrior would cost to hire at their current level of experience multiplied by the number of warriors in the group.
Henchmen Gone OoA: A table to record henchmen who have gone out of action and survived if you are using the Luck of Ranald Accolade with henchmen.
Name: Write the name of each henchmen warrior who has gone out of action during the campaign.
Henchmen Group: Write the name of the warrior’s henchmen group.
Lucky Bastard Score: Record the warrior’s Lucky Bastard Score.
XP: Record the warrior’s experience.
Reputations: Record the name of any Reputations your warband has, as well as the reputation’s mission point value and what would terminate the reputation.