Stand Aside and Let Me Pass
(Chapter 1)
Scenario 1: Stand Aside and Let Me Pass
- Written by Timo Kurvi
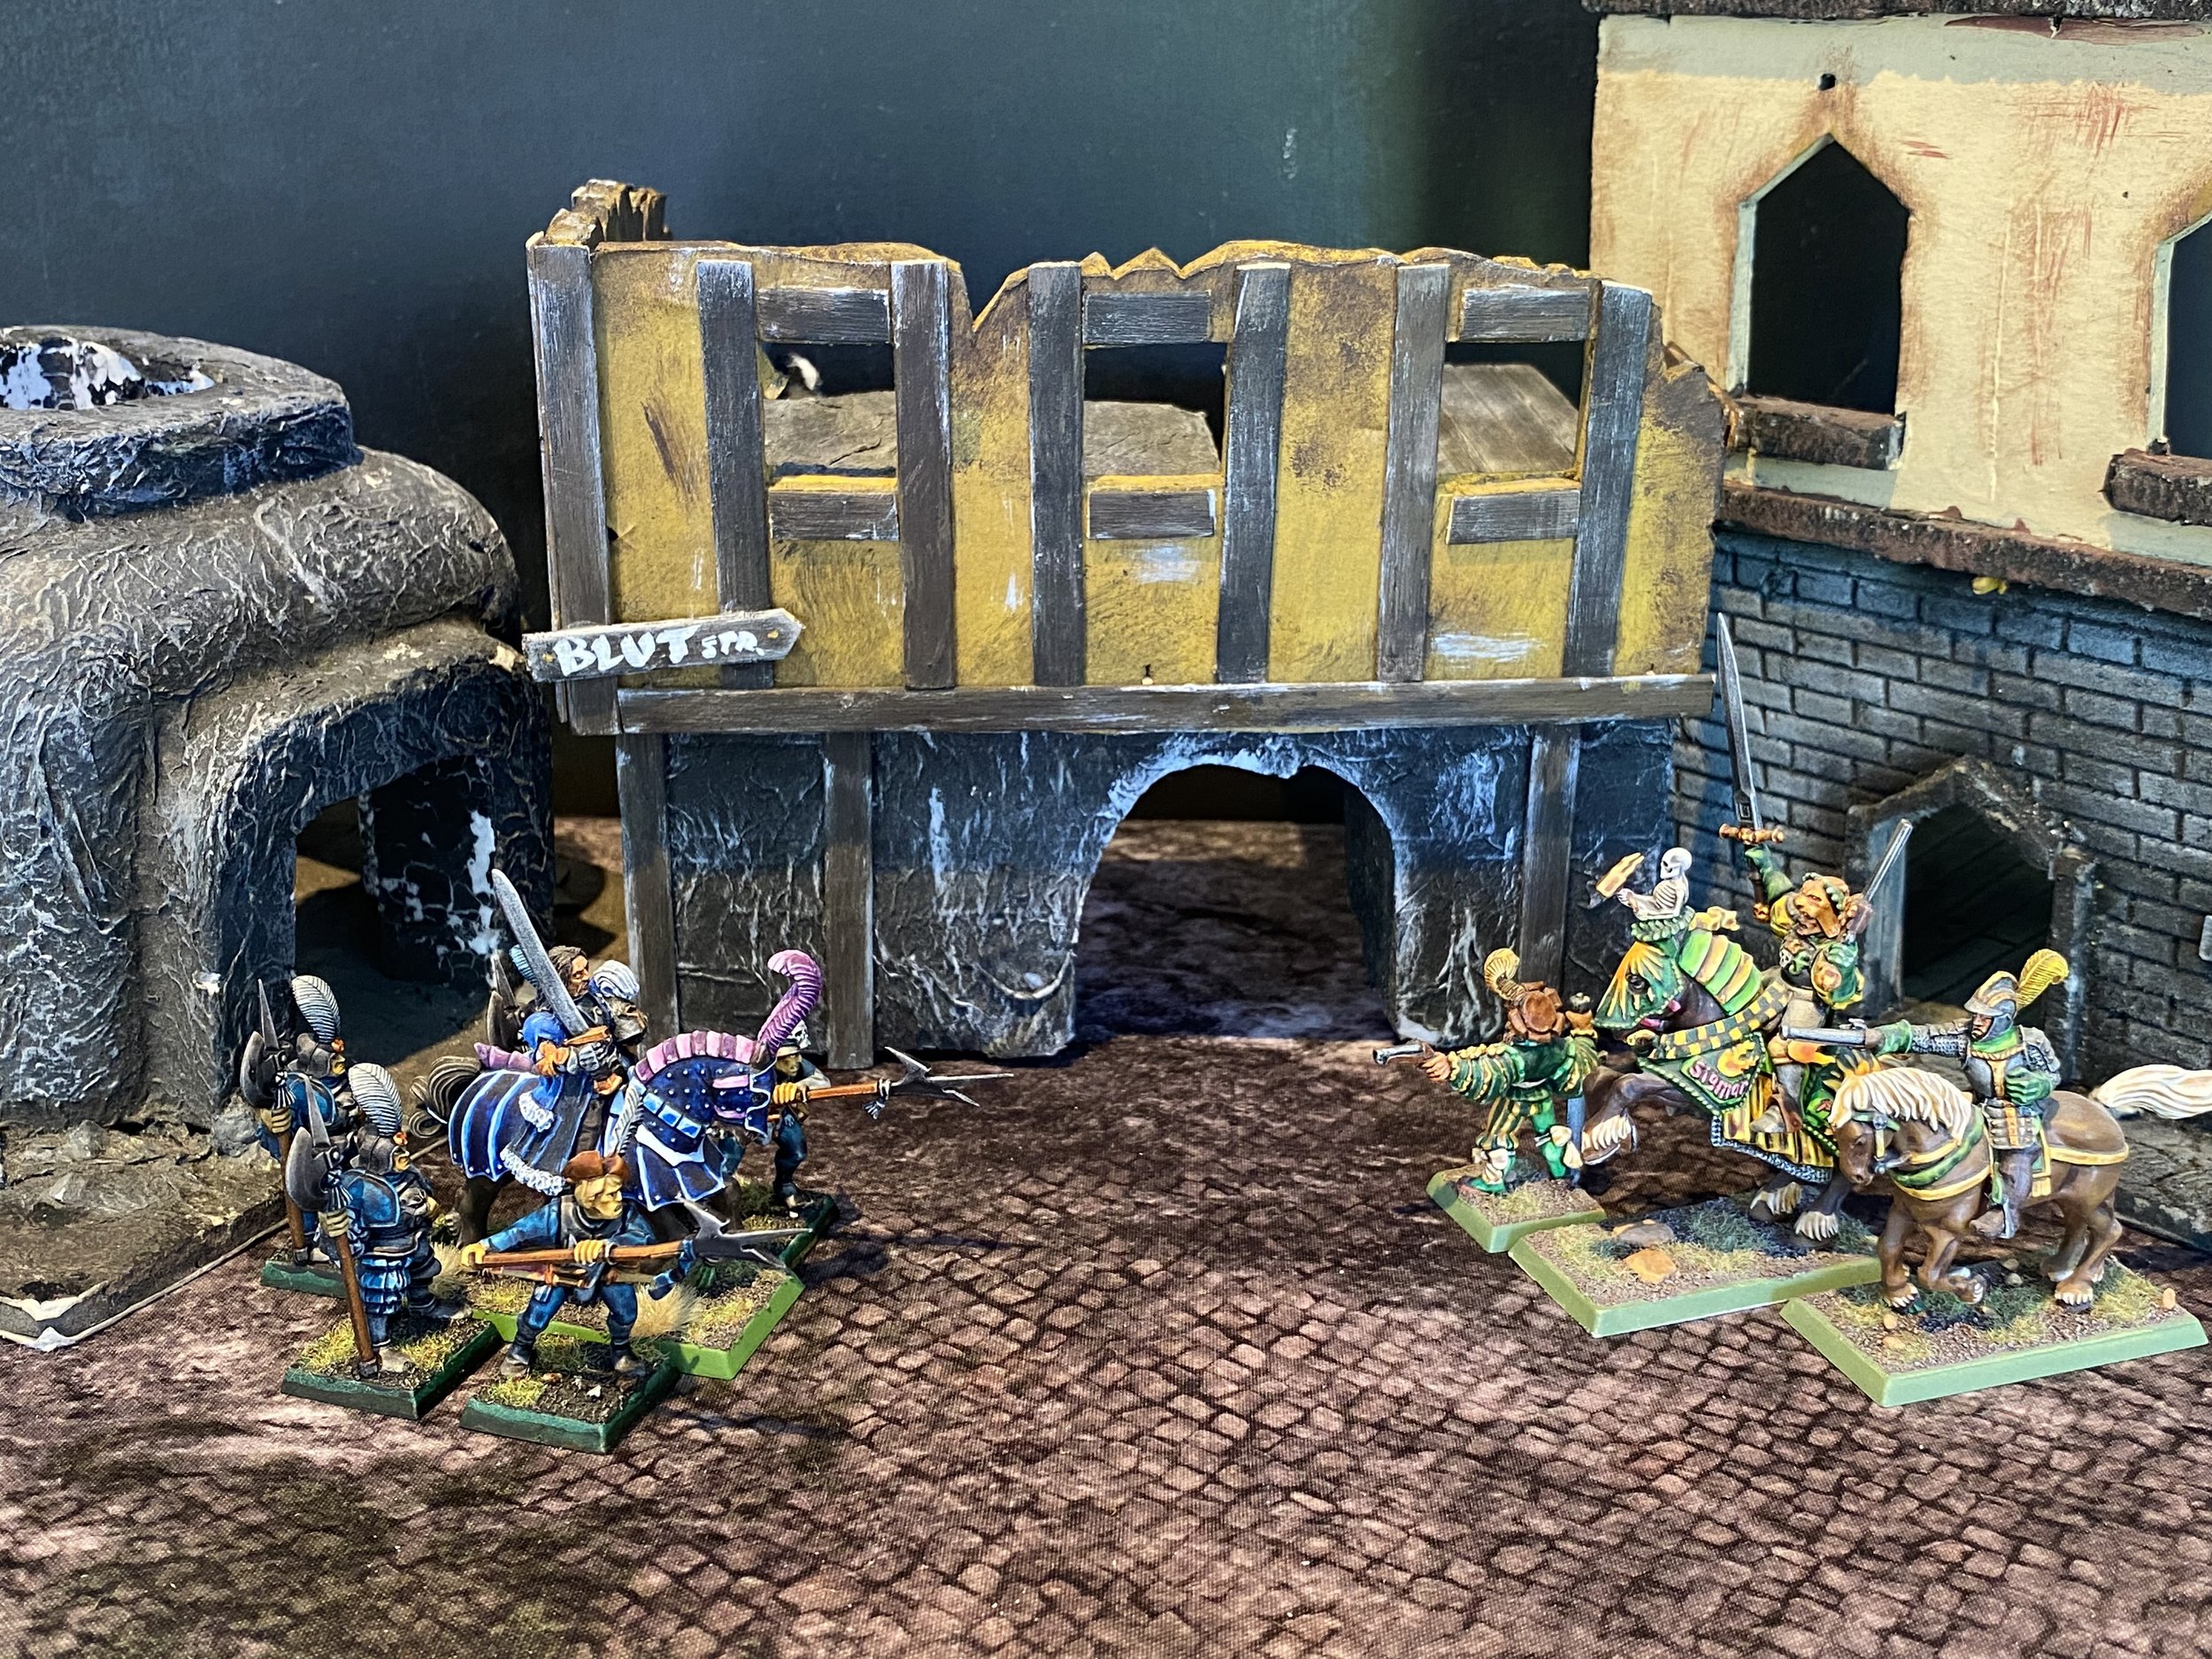
The “recovery retinues” of Sir Faustus von Reikwald (ruler of Sigmar’s Haven) and Diegoma Altriste (one half of the “Southern Cabal”, commanders of Brigandsburg) have by chance come face to face upon a road within Mordheim. In an effort to prove their own superiority neither will acquiesce to stand aside and let the other pass, demanding submission through threats and insult. Warbands searching the ruins happen upon this spectacle and follow the cock fight with amusement. As the bollocking begins to reach an aggressive tipping point, the leaders come to an interesting resolution: Let’s let “the people” decide who should have stand aside for whom!
Scenario Summation:A straight up fight where daring is encouraged.
The warband with the most Victory Points (VPs) wins the game. Voluntarily routing drops all of your VPs to 0.
Victory points are scored through successful All Alone Tests, Rout Tests, Diving Charges (even unsuccessful ones), and moving one hero to the center of the table per turn. The last warband not to rout also earns VPs. Keep track of the number of VPs each warrior earns.
Shooting near the center of the table is restricted.
The game ends when only one warband has yet to fail a rout test or voluntarily rout.
Optional bounty placed on a warrior from the winning warband.
Optional Victory Value: 1
What You Need For The Game: Models for the retinues of Sir Faustus and Diegoma, or two 4 x 4 inch markers representing them.
Mordheim terrain.
SettlementsSigmar’s Haven & Brigandsburg
Brannvaer (see below), a Dwarven Mastercraft Duelling Pistol + 1 Loyalty Point to Sigmar’s Haven.
Reward Sigmar’s HavenA single use of Wolfhart Präzisekumpel (see below), a Healing Effect + 1 Loyalty Point to Brigandsburg.
Reward Sigmar’s BrigandsburgCrossing the center of the table leave space for a relatively straight road some 4–6” wide. Fill the rest of the table with Mordheim terrain normally. Upon the road place models or markers for the retinues of Sir Faustus and the Southern Cabal facing each other, both 3” away from the center point of the table. The 6” area of road between retinues is the Neutral Ground described below. The number or type of models used for each retinue is not important, but neither should take up much more than a 4” x 4” space.
Terrain (urban)Example MapMap KeyDeploymentWarbands deploy normally, by rolling off.
After deployment place Random Fortune Markers. Roll a D66 on the Random Fortune Table for any random fortune discoveries.
Random FortuneDon’t Bite the Hand That Feeds You: Neither retinue can be attacked in this scenario as warbands wish to gain a positive influence with these leaders. Both retinues block line of sight for shooting attacks across it unless the shooter is at least 3” above the ground or has unrestricted line of sight over retinue models to their target. Also, no warrior on the ground level, wholly within 2” and line of sight to either retinue can be targeted for shooting attacks (too risky if shots miss).
Special RulesNo shooting, charges, or close combat can occur on or through Neutral Ground, the 6” space of road between the retinues (the Lords would be in danger of accidental hits). Close combat is allowed anywhere outside this space (bodyguards can protect the leaders). Additionally, only heroes are allowed to enter Neutral Ground (see “May I Present”, below). All other models are barred from entering or crossing.
The retinues are not considered enemies and do not restrict running.
Deadly Politics: Warriors need to impress both retinues who will defer to the warband exhibiting the most courage and bravado, as well as respect to these leaders. Warriors earn victory points for the scenario by the following acts:
Successfully passing an All Alone Test*: 1 VP
Attempting a Diving Charge: 1 VP (+1 VP if successful!)
“Officers” Presenting Themselves (see “May I Present”, below): 1–2 VP
Passing a Rout Test: 1 VP
Being the last warband not to fail a Rout Test: 2 VP
Warbands which voluntarily rout loose all victory points.
*This includes warriors which automatically pass All Alone Tests like Flagellants, Troll Slayers, or Vampires. The commanders seem just as impressed by a zombie standing its ground against multiple attackers as they are of a youngblood.
If using the optional Bounties rules, keep track of which of your warriors gathers the most VPs.
“May I Present”: Both Sir Faustus and Diegoma Altriste appreciate knowing who they are dealing with. During your movement phase a single hero which reaches Neutral Ground can present themselves to the leaders. Place the hero in the center of Neutral Ground. Only one model can be within Neutral Ground at any time.
At the end of your combat phase, make a Leadership test using the presenting model’s own leadership score (no substituting! The hero must speak for themselves). If passed they earn 2 victory points for their warband, if they failed they earn only 1 VP. No hero can present themselves more than once.
At the end of your turn any hero within Neutral Ground is “escorted” out in a random direction. Roll a scatter die and move the hero in the direction indicated until they are 1” away from either one of the retinues or the border of Neutral Ground.
Enemy warriors can try to stop heroes from entering Neutral Ground by intercepting. Consider any movement that ends within Neutral Ground to be a charge and use interception rules normally.
Starting the Game Determine order of play normally, by rolling off.
The game ends when all warbands but one have failed rout tests. At this point Sir Faustus and Diegoma Altriste call for fighting to end and pronounce who they will defer to. The winning warband is the one with the most scenario victory points. They choose whether Sir Faustus (Sigmar’s Haven) or Diegoma Altriste (Brigandsburg) has the honour to remain on the road, and receives the reward of the settlement they select.
Ending the GameShould VPs be tied, a Duel of Honour is called for! The tied players may each select a single warrior that has not gone out of action during the game for this duel. Both fighters make initiative checks. Should one succeed and the other fail, the successful warrior is considered to have charged. If both either succeed or fail, the first round of combat is considered to occur simultaneously, both fully resolving their attacks and applying all results. Any following combat rounds are resolved normally. The duel of honour ends after any combat round in which one fighter scores a more impressive result than their opponent, winning the fight. Results are judged round by round, not collectively.
Duel results in order of most impressive to least are:
Taking an opponent out of action.
Stunning your opponent.
Knocking down your opponent.
Causing more wounds to your opponent before armour saves.
Landing more successful hits on your opponent after parries.
Only if both warriors go out of action will a duel end with no winner. In this case, the scenario is also a tie, the retinues retreat the way they came, and no one wins!
Duel of HonorSore Loser (optional): if you are playing with the rules for bounties, the retinue which was forced to step aside will take out a bounty in a petty act of spite. The Sore Loser Bounty is placed on the warrior which earned the most VPs for the winning warband (or which won a duel of honour). If VPs are among your warriors are tied, your opponent chooses which warrior becomes wanted.
+1 Survives
+1 to the Winning Leader
+1 Per Enemy Out of Action
ExperienceReward Descriptions
Brannvaer - Dwarven Mastercraft Duelling PistolSir Faustus gifts this exquisite Duelling Pistol which never misfires and has range of 12”. Rolling a 1 to hit just indicates a miss. Otherwise Brannvaer follows all other rules for duelling pistols. She can be sold for 50GC. If, during the campaign you can find her pair, Tordenstryke, both can be sold together for 150GC.
Wolfhart Präzisekumpel - Chirurgeon of the Southern CabalThe Southern Cabal grant your warband a single use of their personal chirurgeon, Wolfhart Präzisekumpel, at a time of your choosing. The service is a Healing Effect for heroes only. Wolfram refuses to operate on henchmen whom he feels are beneath his status. His skill ensures that your hero will not die: if the serious injury re-roll comes up 11–15, change the result to be Multiple Injuries (16-21) instead.
If you are not otherwise using the optional rules for healing effects, consider this to be the exception that proves the rule. A unique reward only available to the powerful and those they rarely show favour upon.
Victory Value (optional): 1Post GameRemember to secure any uncontrolled carried items (including random fortune discoveries, but not random fortune markers) when the game ends.
The winner of the game can choose one of the settlement rewards. Remember to update your Loyalty to settlement you choose.
If you are using the optional rules for Bounties, the winner of the game needs to inform the campaign administrator of the sore loser bounty and which warrior has become wanted.
Fill out your end of turn data sheet and send it to your campaign administrator.


