Hot Sauce Buns
(Chapter 3)
Scenario 3: Hot Sauce Buns
- Written by Timo Kurvi
Tabasco Capsicumble is known far and wide within the Moot for his spicy dishes and the buns he serves them with. Invited by the priestess of Shallya, Sister Fayray, to set up a charity for Black Pitters, Tabasco agreed and is on his way to Mordheim. The Shallyan priestess is looking for a warband to escort Tabasco to the Black Pit. Tristone Bellyfoot, the “halfling knight” of Brigandsburg has a grudge against Tabasco and put out the word that any warband that intercepts the cook and brings him to Tristone first will be rewarded. Warbands catch up with Tabasco in the Merchant’s Quarter as he inspects the parts of town he was formerly familiar with.
Capture Tabasco Capsicumble while he flees from all warriors.
The warband which secures Tabasco by either escorting him off the table or controlling his model when the game ends, wins.
A Loyalty Symbol and an objective to the Haug’s Hideaway Side Quest can be found in the game.
Optional Victory Value: 1
Scenario Summation
Urban terrain
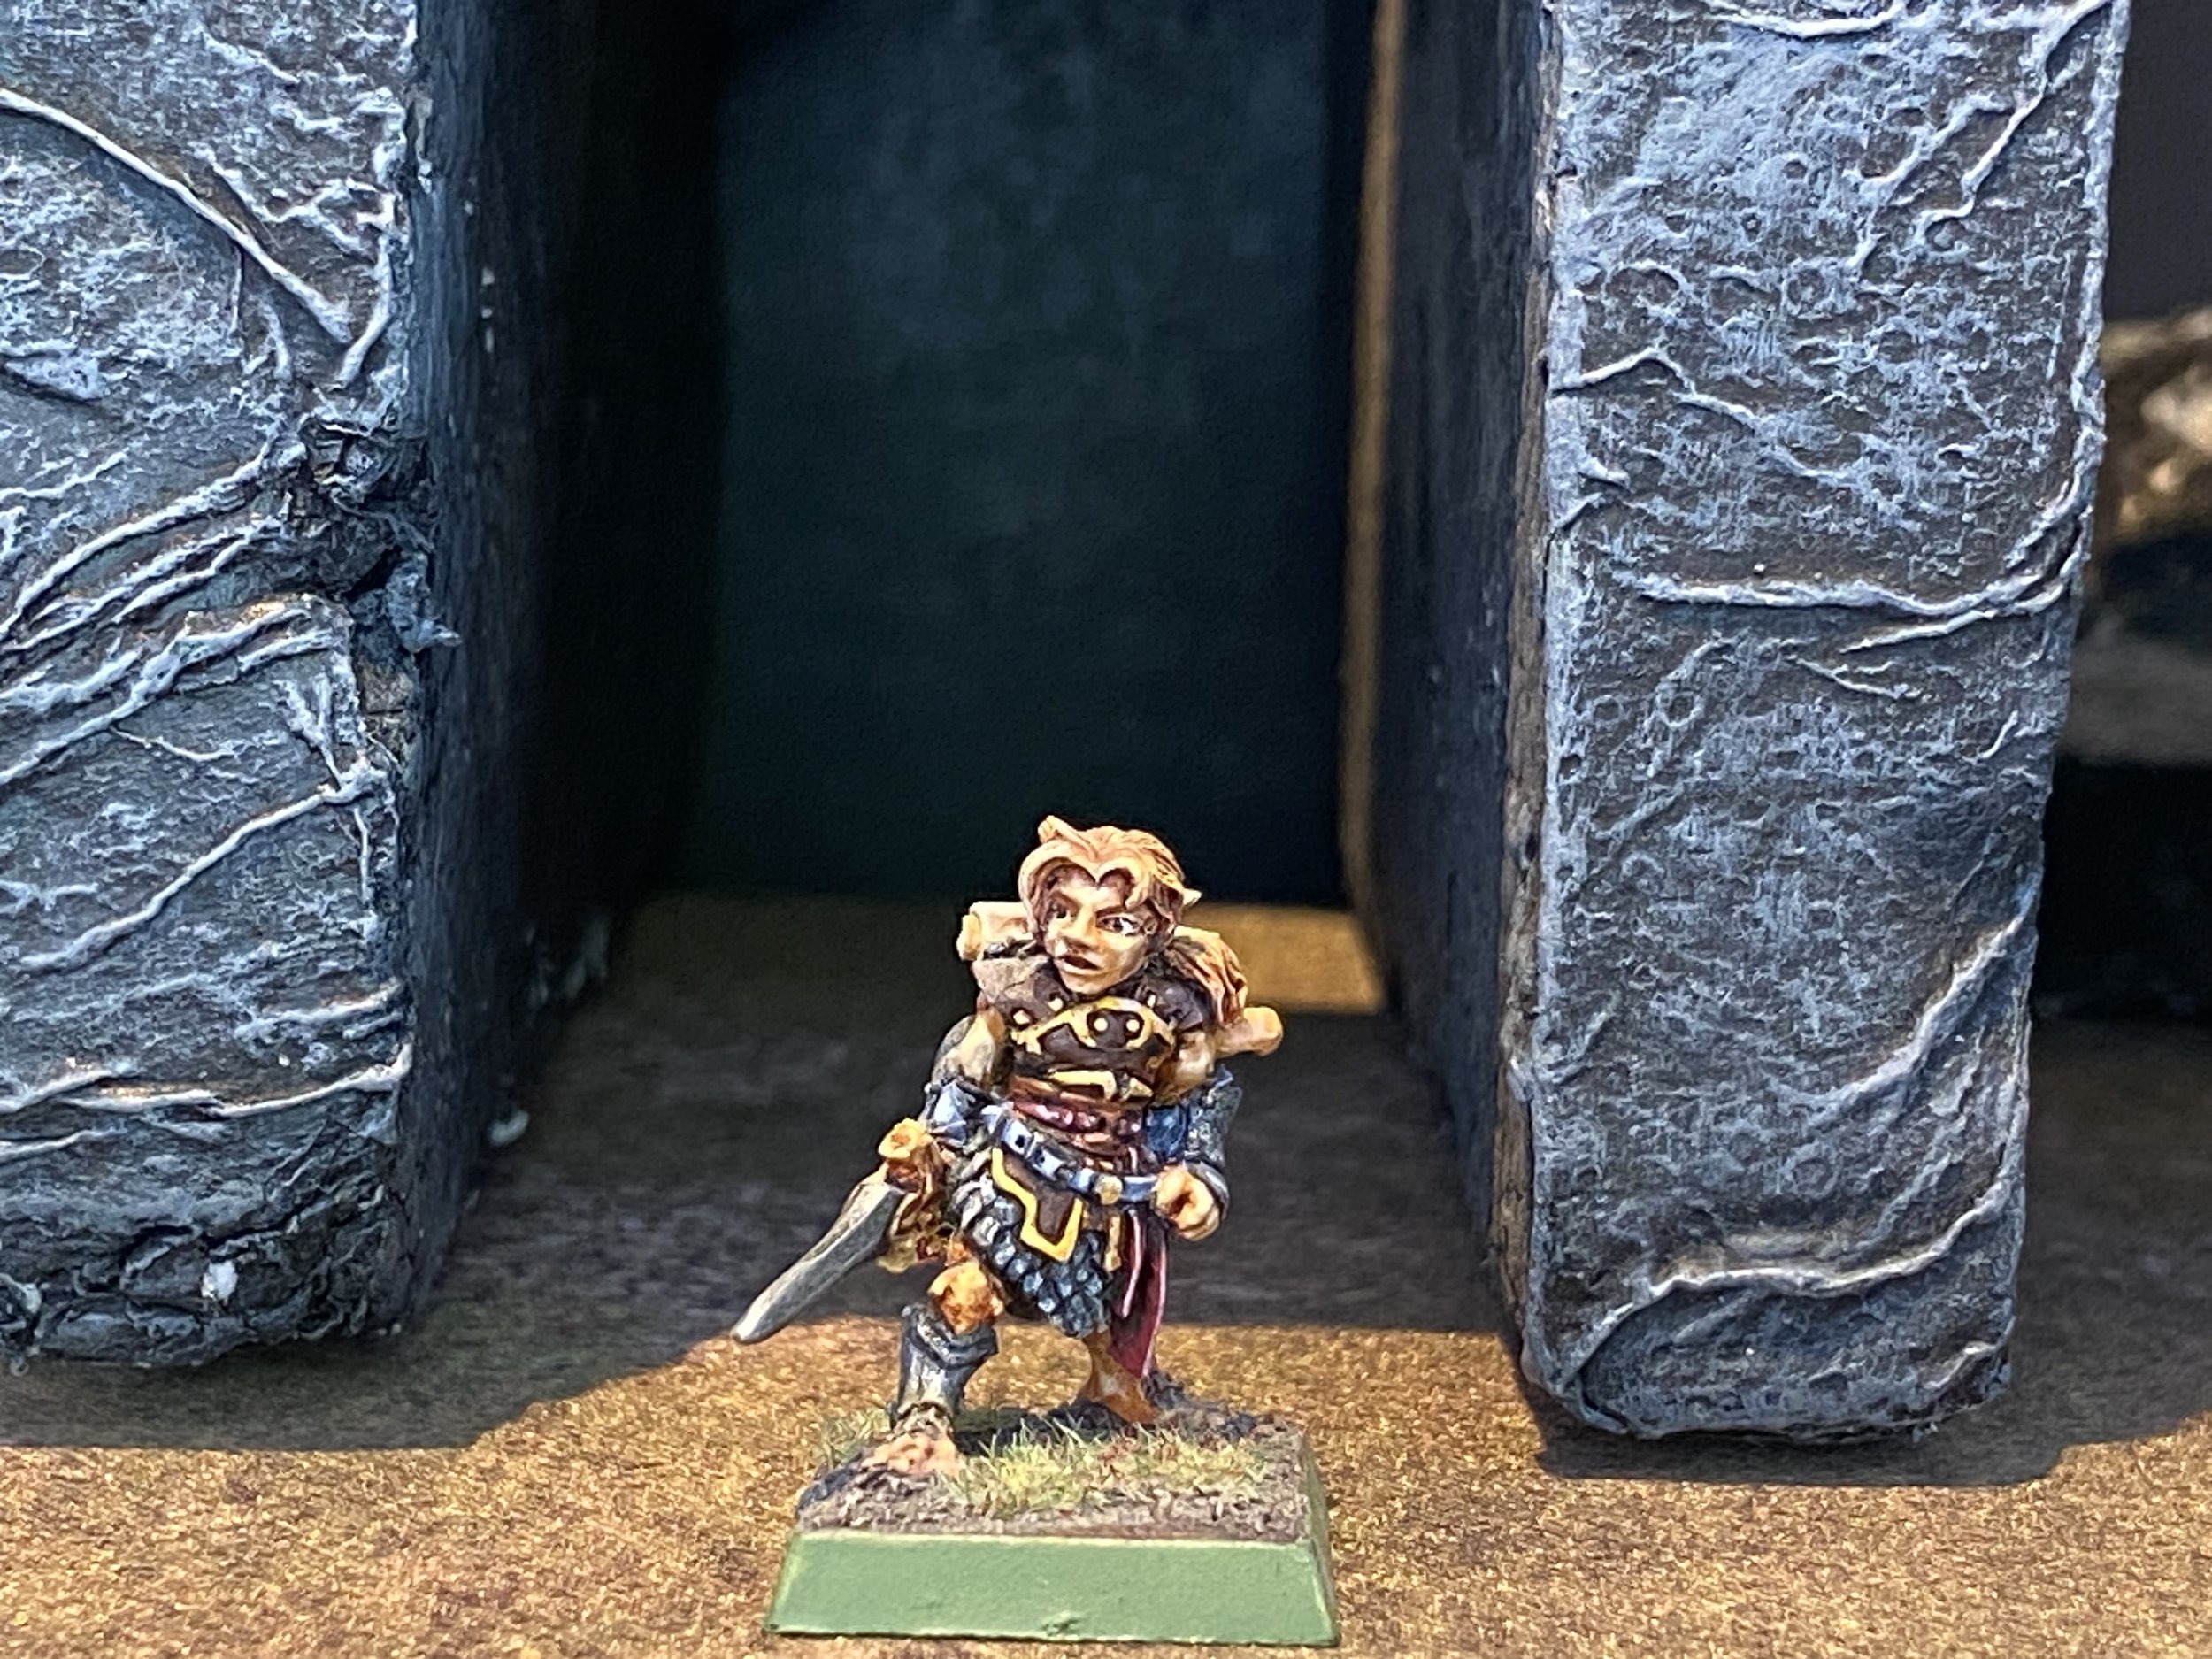
A model for Tabasco Capsicumble, halfling
A marker for the counterweight, loyalty symbol
What You Need For The Game
Settlements
Reward Brigandsburg
Up to 30 GC worth of common weapons and/or armour, plus 1 point of Loyalty to Brigandsburg.
Reward The Black Pit
Halfling Cookbook plus 1 point of Loyalty to The Black Pit.
Place a model for Tabasco Capsicumble in the very center of the table. There should be no terrain placed within at least 4” of this point (Tabasco stands in an open square). Place other urban terrain normally.
Terrain (urban)
Deployment
Warbands deploy normally.
After deployment place Random Fortune Markers. Roll a D66 for any Random Fortune Discoveries after the first (see Another Map?, below).
Random Fortune
Captured Alive: Everyone wants Tabasco alive and unharmed. No one may attack Tabasco in this scenario nor shoot at any warrior he is in base contact with.
Special Rules
Oh Dear!: With the arrival of armed soldiers Tabasco goes into a state of panic. Starting with the second turn, Tabasco flees during the recovery phase of each warband. When fleeing, move Tabasco 2D6” directly away from the closest warrior of any warband. Should two or more warriors be equally close to Tabasco randomly determine from which he will flee. Tabasco will climb up and jump down of all terrain in his direct path, make any initiative tests on his behalf. Should climbing or jumping not be possible, he will move his remaining movement along the edge of the terrain feature moving as best as he can toward the determined direction. Should Tabasco ever fall and go out of action leave his model face down on the table and treat him as a heavy carried item (he’s knocked out). In all other cases Tabasco recovers normally when he would otherwise flee.
To capture Tabasco he must be successfully charged. Once any warrior does so, Tabasco surrenders and is controlled by the warrior who came into base contact with him as if he were a normal carried item. Whenever Tabasco is not in base contact with a warrior during any recovery phase he resumes fleeing.
The Counterweight: The first warrior to successfully charge Tabasco causes him to drop the Merchant Guild Master’s Counterweight, a Loyalty Symbol he discovered while rummaging around. The player who had the previous turn places a carried item marker representing the counterweight anywhere 1” away from Tabasco’s model. The counterweight is small and challenging to locate. Any warrior coming into contact with the counterweight’s marker makes an initiative test. If successful the warrior controls the marker as a carried item. If unsuccessful the warrior does not notice the loyalty symbol and cannot test to find it again until it has been moved from this location.
Spurred to Victory: Warbands controlling Tabasco may not voluntarily rout (warriors are inspired by victory being close at hand), but can be routed by failing a rout test.
Resisting Arrest: While Tabasco will not physically oppose his captors, he is looking to escape all this mess. Should a warband controlling Tabasco rout, they will loose control of the halfling if standing enemy models are within line of sight and charge range of Tabasco. Make a test to secure normally. If no enemies are in charge range, Tabasco is evacuated from the field by the routing warband.
Another Map?: Yes, Haug has misplaced another of his maps. If playing with this Side Quest, the first player to succeed in a random fortune discovery does not roll on the discovery table, but automatically finds a Haug’s Hideaway Map instead. The map is an objective to the Haug’s Hideaway Side Quest. Should no discoveries be made, that last random fortune marker on the table will automatically be the map, no need to even make a discovery test.
Starting the Game
Determine order of play normally.
The game ends when either:
A warband escorts Tabasco off the battlefield from their own deployment zone, securing him.
Tabasco’s model flees off any table’s edge.
There is only one warband left on the table.
Should Tabasco be uncontrolled when the game ends only make a test to secure him if two or more warbands have standing warriors within line of sight and charge range of Tabasco. If only one warband is in charge range, they automatically secure Tabasco. If no warbands are in charge range the warband remaining on the table secures him.
The warband which secures Tabasco wins the game. If Tabasco flees the table himself, no one wins.
Ending the Game
Experience
+1 Survives
+1 to the Winning Leader
+1 Per Enemy Out of Action
+1 to any hero or henchmen group securing Tabasco when the game ends.
Scenario Character
Tabasco Capsicumble is one of the best cooks in the region. A native of the Moot, Tabasco was a frequent visitor to Mordheim in its heyday. He now arrives to try and uplift the spirits of the city’s survivors with his delicious meals.
Tabasco CapsicumbleM WS BS S T W I A Ld
4 1 3 2 3 1 4 1 6
Scenario Elements
A Loyalty Symbol, this was the official counterweight of Mordheim’s Merchant Guild. Used on a scale, the counterweight is the equivalent of 10 Gold Crowns and was used to craft all other sanctioned counterweights in the city. Zlatan Anastazia, “Den Don” of fenced goods, would be greatly interested in getting his hands on it. In addition to the loyalty and scenario selection benefits loyalty symbols will reward in any settlement, gifting the Merchant Guild Master’s Counterweight to Cutthroat’s Den gives you the opportunity to buy any one rare item of your choice without making a rarity roll. You must use this benefit on the turn you gift the counterweight.
Guild Master’s CounterweightVictory Value : 1Secure any uncontrolled carried items before removing warband models from the table.
If playing Side Quests, inform your campaign administrator if you posses the haug’s hideaway map, an objective for the Haug’s Hideaway Side Quest. Then roll the appropriate number of dice on the Haug’s Hideaway Discovery Table.
Fill out your end of chapter data sheet and send it to the campaign administrator.
Post Game
Chapter 3 - Not Business As Usual