Running the Gauntlet
(Chapter 3)
Scenario 2: Running the Gauntlet
- This scenario is based on the Street Fight scenario from the Mordheim rulebook.
The life of a soldier can often be boring. To keep up moral, co-leader of Brigandsburg Luigi Stiletto came up with a lively solution. Let’s find out which of these new warbands overrunning the region is the toughest! A street in Mordheim has been chosen as the battle ground between warbands to gain the title of Verteidiger’s Gauntlet Champion, named for former watch captain Hugo Verteidiger, the whereabouts of whom are still a mystery. While warbands fight for this title, hooligans crowd the buildings on either side to watch and wager on the victor.
A race/fight past an opposing warband to exit the opposite end of a long street to earn victory points.
The warband with the most scenario Victory Points (VPs) wins the game. Voluntarily routing drops all of your VPs to 0.
A Hired Sword and an objective to the Haug’s Hideaway Side Quest can be found in the game.
Optional Victory Value: 2
Scenario Summation
Urban terrain
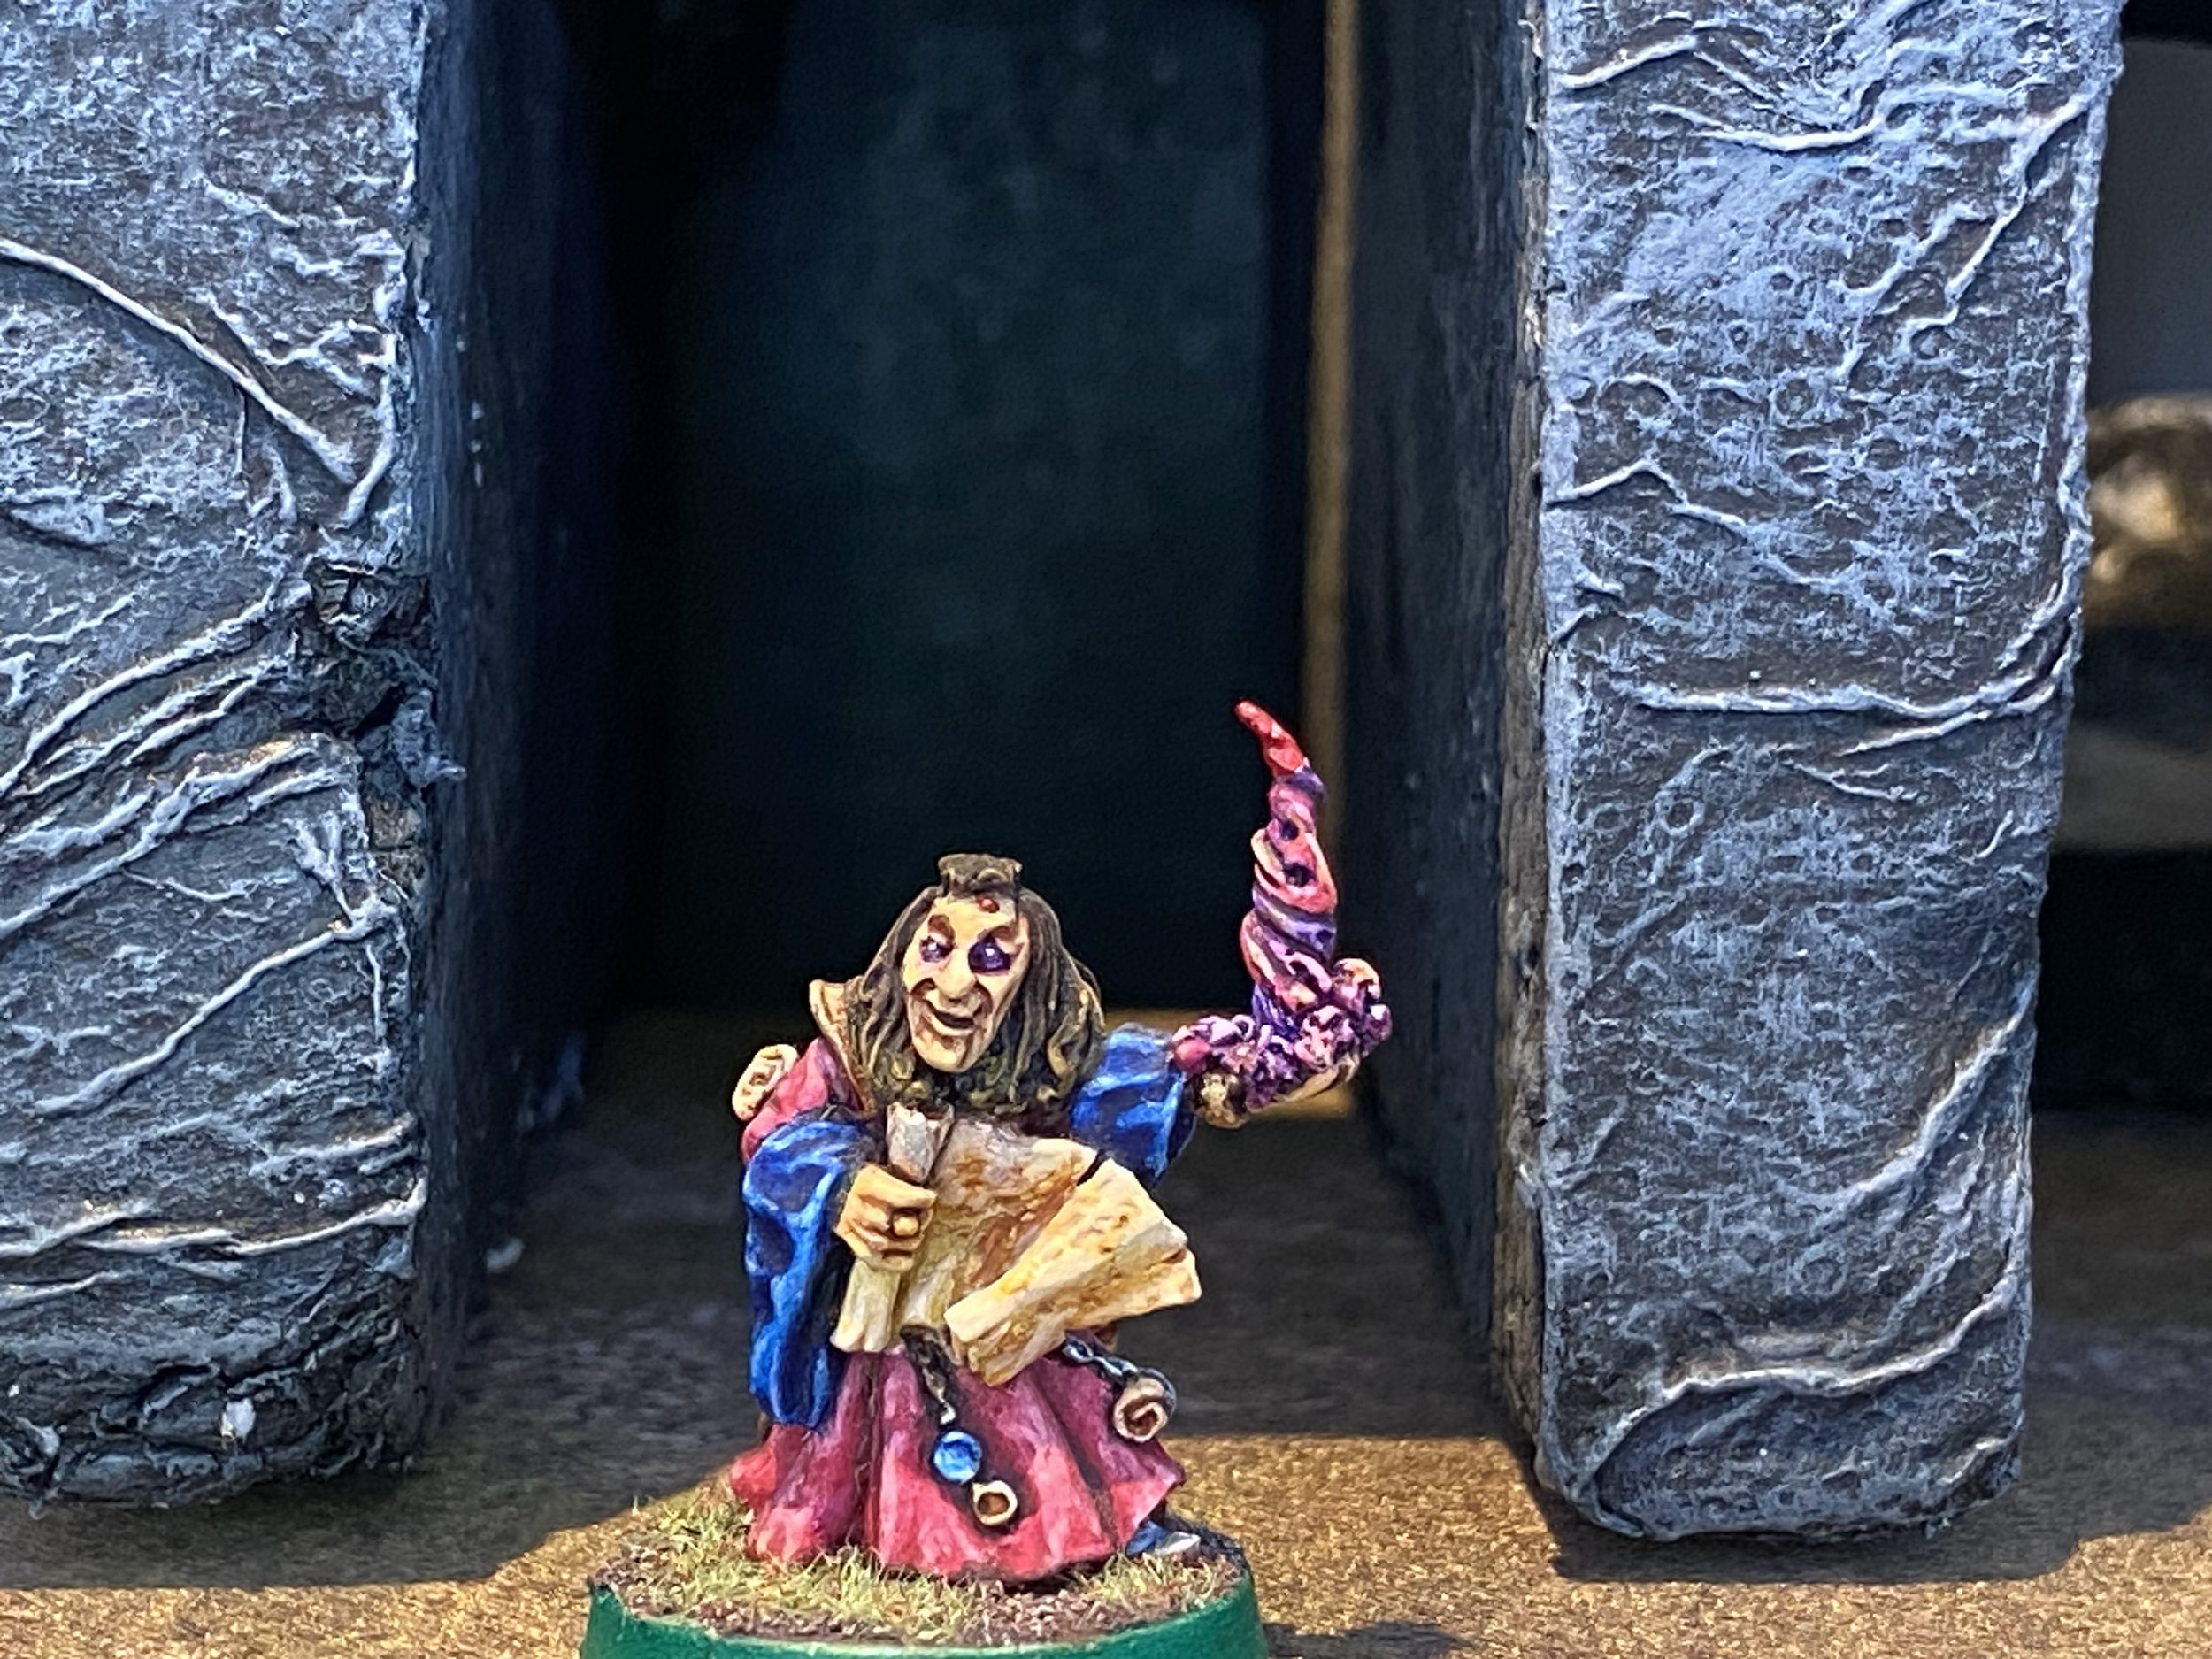
Model for Morghul, human wretch
What You Need For The Game
Settlements
All
Starkschutz, a mastercraft Double-Handed Weapon, + 1 Loyalty point to Brigandsburg, for winning the game.
The Harlequin Reputation, +1 Loyalty point to a settlement of your choice for earning the Harlequin Reputation.
Rewards
Set up your buildings to form a single street. The street itself as well as all the buildings that border it are considered to be The Gauntlet, the field of glory for our warbands. The street may be as winding as you like and should not be too narrow to fight in, but can have bottlenecks and/or obstacles at various points. If there are three warbands in this game, set up three streets of equal distance that all come together somewhere near the center of the table. At the midway point of the street (equal distance from all deployment zones) place a statue, fountain, gallows, or some other small piece of terrain to represent the Harlequin’s Platform. The platform should be 2–4” high with no walls to provide cover (but can have minor elements like a statue or hangman’s pole which provides some). The platform must have space for models to move.
The rest of the table need not be set up (unless you do so for aesthetic reasons). It should be made clear to all players what the boundaries of the Gauntlet are. Warriors exiting the Gauntlet are not allowed to return (see Running the Gauntlet).
Terrain (urban)
Deployment zones are located at the end of each street, 8” from the edge of the table. Warbands deploy normally.
Deployment
After deployment generate Random Fortune Markers. In order of Warband Rating, lowest to highest, players take turns placing the markers as follows. Your first and second markers must be placed in the opponent’s half of the Gauntlet; the first at least 8” away from the midpoint of the table, the second at least 4” away from the mid point and 8” away from any other random fortune marker. A third marker can be placed anywhere at least 8” away from any warriors and other random fortune markers.
Stiletto and his men have placed most of these spoils, so no discovery tests are necessary. Instead, whenever a warrior comes into base contact with a random fortune marker roll a D6 on the following table:
Random Fortune
The Gauntlet Fortune Table
1–3: a normal piece of random fortune, roll a D66 on the Random Fortune Discovery Table.
4–6: Choose from one of the following Special Finds:
Haug’s Hideaway Map carved into the leather of an old boot. The map is a carried item.
Morghul “the Bugbear”, a scar covered hired sword looking to gain a name for himself. He joins your warband for this scenario free of charge.
1 Wyrdstone shard, a carried item.
All special finds can only be discovered once. After all have been claimed any further random fortune markers warriors come into contact with are resolved rolling D66 on the Random Fortune Discovery Table.
Treasury Secured: the organizers of Verteidiger’s Gauntlet want the competitors to be completely focused on the battle. Treasuries of warbands do not have to be brought on to the table, as Luigi Stiletto and his watchmen personally guard over them.
Special Rules
Running the Gauntlet: The competition is over which warband can better survive the race through the Gauntlet to the other side. Any warrior that exits the Gauntlet from anywhere, for any reason, may not return to the battle (including falling or fleeing through the back end of a building, for example). Warriors exiting the Gauntlet through an opponent’s deployment zone earn scenario victory points (VPs) for their warband:
The first warrior to do so earns 4 VPs.*
The second warrior to do so earns 3 VPs.*
The third warrior to do so earns 2 VPs.*
All other warriors to do so earn 1 VP.
Winning single combat on the Harlequin’s Platform also earns 1 victory point (see below).
*To be clear, only three warriors in total can earn these higher valued victory points, not 3 warriors per warband.
Voluntarily routing drops all of a warband’s victory points to zero.
Get Back In the Fight: At the end of your recovery phase, for each of your unengaged warriors that is on or inside a building roll a D6. On the roll of a 1, the area becomes over crowed with hooligan spectators, cheering or booing your fighter. The warrior must pass an initiative or strength test (your choice) or be pushed back out into the street! If shoved from upper floors they fall. Place the warrior into the street 1” away from the building.
The Harlequin’s Platform: The first warrior to climb upon the platform at the street’s midway point begins to mock and roast their opponents in the lewdest possible manner, challenging them to come and take him or her on. The crowd loves this! Keep track of how many full turns warriors are on the Harlequin’s Platform.
Opposing warbands, on their recovery phase, can nominate one of their warriors to take this challenge. Move the chosen warrior onto the Harlequin’s Platform (the battle is halted temporarily for this to happen) and into base contact with the challenger. Both enter Single Combat during the close combat phase. On the first phase of close combat, both warriors make an initiative test. Should one succeed and the other fail, the warrior who passes their test strikes first. If both succeed, the warrior with the higher initiative attacks first (if this too is tied both fail). If both fail, the warriors strike simultaneously, resolve both attacks before applying injury rolls. Any combat rounds after the first are fought normally. Once one combatant is taken out of action, the victor earns 1 scenario victory point for their warband and resumes/takes their turn mocking and challenging all comers, following the rules above. Should for any reason the Harlequin’s Platform ever be empty, the next warrior to climb upon it continues the same crowd pleasing antics.
For this scenario, no more than two warriors can ever be on the Harlequin’s Platform at a time, a mocking warrior and their challenger. In game’s with multiple warbands, other challengees must wait until Single Combat is resolved.
Hooligan’s Hatred: The crowd so loves the single combat on the Harlequin’s Platform that they will be greatly upset and angered by fighters trying to prevent it. Any warrior making a missile or magic attack against a model on the platform immediately gains the Hooligan’s Hatred bounty, if you are using the optional rules for bounties. If you are not playing with bounties, assume missile and magic attacks are not allowed by the organizers against warriors on the Harlequin’s Platform.
The warband with least number of warriors starts the game, followed by the warband with the next fewest number of warriors, etc. Warbands with an equal number of warriors roll off the determine the order between them. All following turns use the same order.
Starting the Game
When one warband has moved all its warriors which have not gone out of action off the table via an opposing deployment zone, the game ends. Warriors on the Harlequin’s Platform are the only exception. They may remain on the platform while the rest of their warband exists (but they will rout should their warband do so). Alternatively, the game ends when all but one warband has routed.
The winner of the game is the warband with the most scenario victory points. If this is equal, the warband who had a warrior for the greatest number of turns on the Harlequin’s Platform breaks the tie. If this too is tied, the warrior who rose onto the platform before their opponent wins the game for their warband. Beyond this there are no tie breakers and a battle ends in a draw.
Ending the Game
The Harlequin: Should a warrior remain on the Harlequin’s Platform for more turns than any other, they become known across the region as The Harlequin! A warrior whose tongue is as vicious a weapon as their blade, and someone not afraid of speaking truth to power. Their warband earns the Harlequin Reputation.
Also, in the days after the Mordheim Gauntlet the Harlequin is lavished with attention from many Mordheimers interested in hearing who and what they love and hate. The Harlequin scathes many a settlement, but has praises for one. The player may choose to increase their Loyalty Score by 1 in the settlement of their choice.
+1 Survives
+1 to the Winning Leader
+1 Per Enemy Out of Action
+2 To any Hero that engages in Single Combat on the Harlequin’s Platform one or more times.
Experience
Scenario Elements
Starkschutz, Mastercraft Double-Handed WeaponThis exquisitely fashioned winning prize is either a double handed sword, axe, or hammer. The player earning this reward can choose which. A mastercraft weapon combines the aspects of a doubled handed weapon (+2 S) and the special rules of its chosen form:
Sword: Parry
Axe: Cutting edge
Hammer: Concussion
Starkschutz retains the Two-handed and Strike Last special rules of all two handed weapons.
Morghul “the Bugbear”, Human WretchA scar covered warrior who rarely speaks, has a disturbing, unblinking gaze, and smells really bad. But he fights for next to nothing!
M WS BS S T W I A Ld
4 3 3 3 4 2 3 1 10
Morr Score Value (optional): Hero.
Save: -
Equipment: 2 daggers.
Skills: none (Morghul chooses from Combat and Speed skills)
I Don’t Mind: Morghul automatically passes any psychology test.
Maniacal Frenzy: During battles Morghul whips himself into a state of Frenzy. His extreme state of fervour causes a stunned result on the injury table to be changed to knocked down. After being knocked down, Morghul looses frenzy and can be stunned normally.
That Does Not Belong To You: Morghul attempts to capture Dark Artefacts on the battlefield. If one or more are present, Morghul abandons the warband he is serving and must run the shortest distance towards the closest dark artefact attempting to possess it. Morghul can run even when enemy models are within 8” but enemies can intercept Morghul as if he were charging. Morghul activates during the turn of the warband which does not control the Dark Artefact.
When in combat with warriors that do not control dark artefacts, he will automatically escape from combat, during his movement phase. Still make a Leadership test, if failed Morghul’s opponent gets 1 automatic hit, but should Morghul survive he does not flee and runs toward the dark artefact, stopping when coming into base contact (engaging in combat if necessary).
If Morghul takes a warrior possessing a dark artefact out of action, he takes control of it as a carried item. Moving on the recovery phase of player turn he has acted with during the game, Morghul must attempt to exit the Gauntlet from any location as fast as possible. If he succeeds or the game ends while Morghul controls a dark artefact, the relic is Lost to the Cult. Morghul cannot attempt to secure an uncontrolled artefact.
Full rules for Morghul should he join your warband.
Special Rules:
Victory Value : 2
Secure any uncontrolled carried items before removing warband models from the table.
If your warrior has become the Harlequin, inform your Campaign Administrator and gain the Harlequin Reputation.
If your warband retains the services of Morghul “the Bugbear”, after your next game remember to resolve if you suffer the Forbidding Fortuity Reputation, and inform your CA if you do.
If playing Side Quests, inform the CA if you posses the Haug’s Hideaway Map. Then roll the appropriate number of dice on Haug’s Hideaway Table.
If playing with bounties, inform the campaign administrator if any of your warriors suffer the Hooligan’s Hatred Bounty.
Fill out your end of chapter data sheet and send it to the campaign administrator.