Dalabe Downs
(Chapter 3)
Scenario 4: The Dalabe Downs
- Written by Timo Kurvi
The Trash Brats and the Gherkin Jerks are young rival street gangs in Cutthroat’s Den. Both are at the bottom of the Den hierarchy with little autonomy or even personal space so each has gone looking for an area to call their own. The region of the Dalabe Downs has many small caves and hidey-holes perfectly suited for this purpose. Both gangs want to find a cave for themselves with no adversaries close by. They ask warbands for help in both finding a cave and convincing their rivals to clear out of the territory. While neither have little to offer in remuneration, the gangs will have something of practical value to warbands, a guarded space to hide and store treasury which is comparatively safe when compared with other options in and around Mordheim.
Scenario Summation
A task to investigate and conceal cave entrances scattered across rural terrain, while preventing opponents from doing the same. Only one entrance leads to a suitable cave, which is randomly rolled for at the end of the battle.
The game ends when all cave entrances are concealed or all but one warband has routed.
The warband which concealed the suitable cave entrance wins the game. If the randomly determined entrance is unconcealed, the last warband on the table wins.
A Hired Sword and an objective to the Haug’s Hideaway Side Quest can be found in the game.
Optional Victory Value: 1
Rural terrain
12 Cave Entrance Markers
Model for Ghitar the Brewer
Snotling model(s) (a 40x40 base)
What You Need For The Game
Settlement
Cave Cache (see below) plus 1 Loyalty Point. Also choose between 1 Betrugeller Ambush Point or the Bonny Mama Healing Effect.
Reward (Cutthroat’s Den)
Set up rural terrain normally. If possible use several hills and line-of-sight blocking terrain. After terrain has been set, place 12 Cave Entrance Markers evenly across the table outside of deployment zones. No warband should have an unfair advantage being closer to more markers than their opponents, and most of the markers should be at least 8” away from deployment zones.
It would be helpful if cave entrance markers can be labeled as unexplored on one side and safe on the other. If you are using dice as markers, the number 1 can indicate unexplored and 6 safe, for example. All markers begin the game unexplored.
Terrain (rural)

Example Map
Map KeyDeployment
Warbands deploy normally.
Random Fortune
No random fortune in this scenario.
Special Rules
Brat Cave: There are many underground cavities in the area but most are not large enough to establish a base in. Cave entrances are small yet could open into an adequate cave when fully explored later. Half of these entrances are empty while the others have an encounter.
After your movement phase, for each unexplored Cave Entrance Marker that has one or more of your models in base contact make a D6 Investigation Roll. On a 1–3 the entrance is empty and on a 4+ the warrior(s) find an encounter, roll on the Cave Encounter Table below. Each cave encounter is unique. Once its number is rolled cross it off the table. If you roll a number which has already occurred, the closest number to the one rolled will be found. If there are two numbers which are equally distant from the number rolled, you may choose between them.
Once all encounters have been discovered all remaining cave entrances are empty. Should the number of unexplored cave entrance markers equal the number of encounters left on the cave encounter table, no longer make investigation rolls, just roll directly on the Cave Encounter Table.
Empty entrances are automatically safe, while those with encounters need to be resolved as described on the Cave Encounter Table to make them safe during the battle. It should be clear to all players which cave markers are unexplored and which are safe during the game. Markers should have different coloured or labelled sides that can be flipped after investigation, or if using dice as markers use the same number (for example, 1) to indicate unexplored entrances and a different number (like 6) for safe ones.
Cavern Camouflage: Once a cave entrance is safe, and no enemy warriors are in base contact with it, your standing warriors can attempt to conceal the opening so that no one else can find it. At the start of your warband’s Recovery Phases, before rout tests, make a Leadership Test using the highest score of any model capable of earning experience that is in base contact with the cave entrance. Warriors in close combat cannot be used, nor may models substitute the leadership score of their leader (who does not want to bring attention to the activity). Additionally, the leadership score of lone henchmen (often not the brightest members of a warband) attempting to conceal is at -1 for this test.
A successful leadership test conceals the cave entrance. Remove all cave entrance markers you conceal and collect them into a pile off the table. Each cave entrance marker you possess increases the chances of your warband winning the game. An unsuccessful test leaves the cave entrance marker on the battlefield.
Snotling Nest. You have disturbed the home of a fester of snotlings. Place a snotling base into contact. The snotlings will fight to defend their home and are considered to have charged on the turn they are placed. Only once the base has been taken out of action will the cave be safe to conceal. The snotlings remain in place guarding the cave entrance if no warriors are in base contact. They will shoot warriors who end their movement within 6” on the warband’s shooting phase.
Tunnel Collapse! The entryway caves in. All warriors in base contact with the cave entrance marker must make an initiative check or go out of action. On the bright side the cave is now “safe” and automatically concealed for your warband. Collect the Cave Entrance Marker.
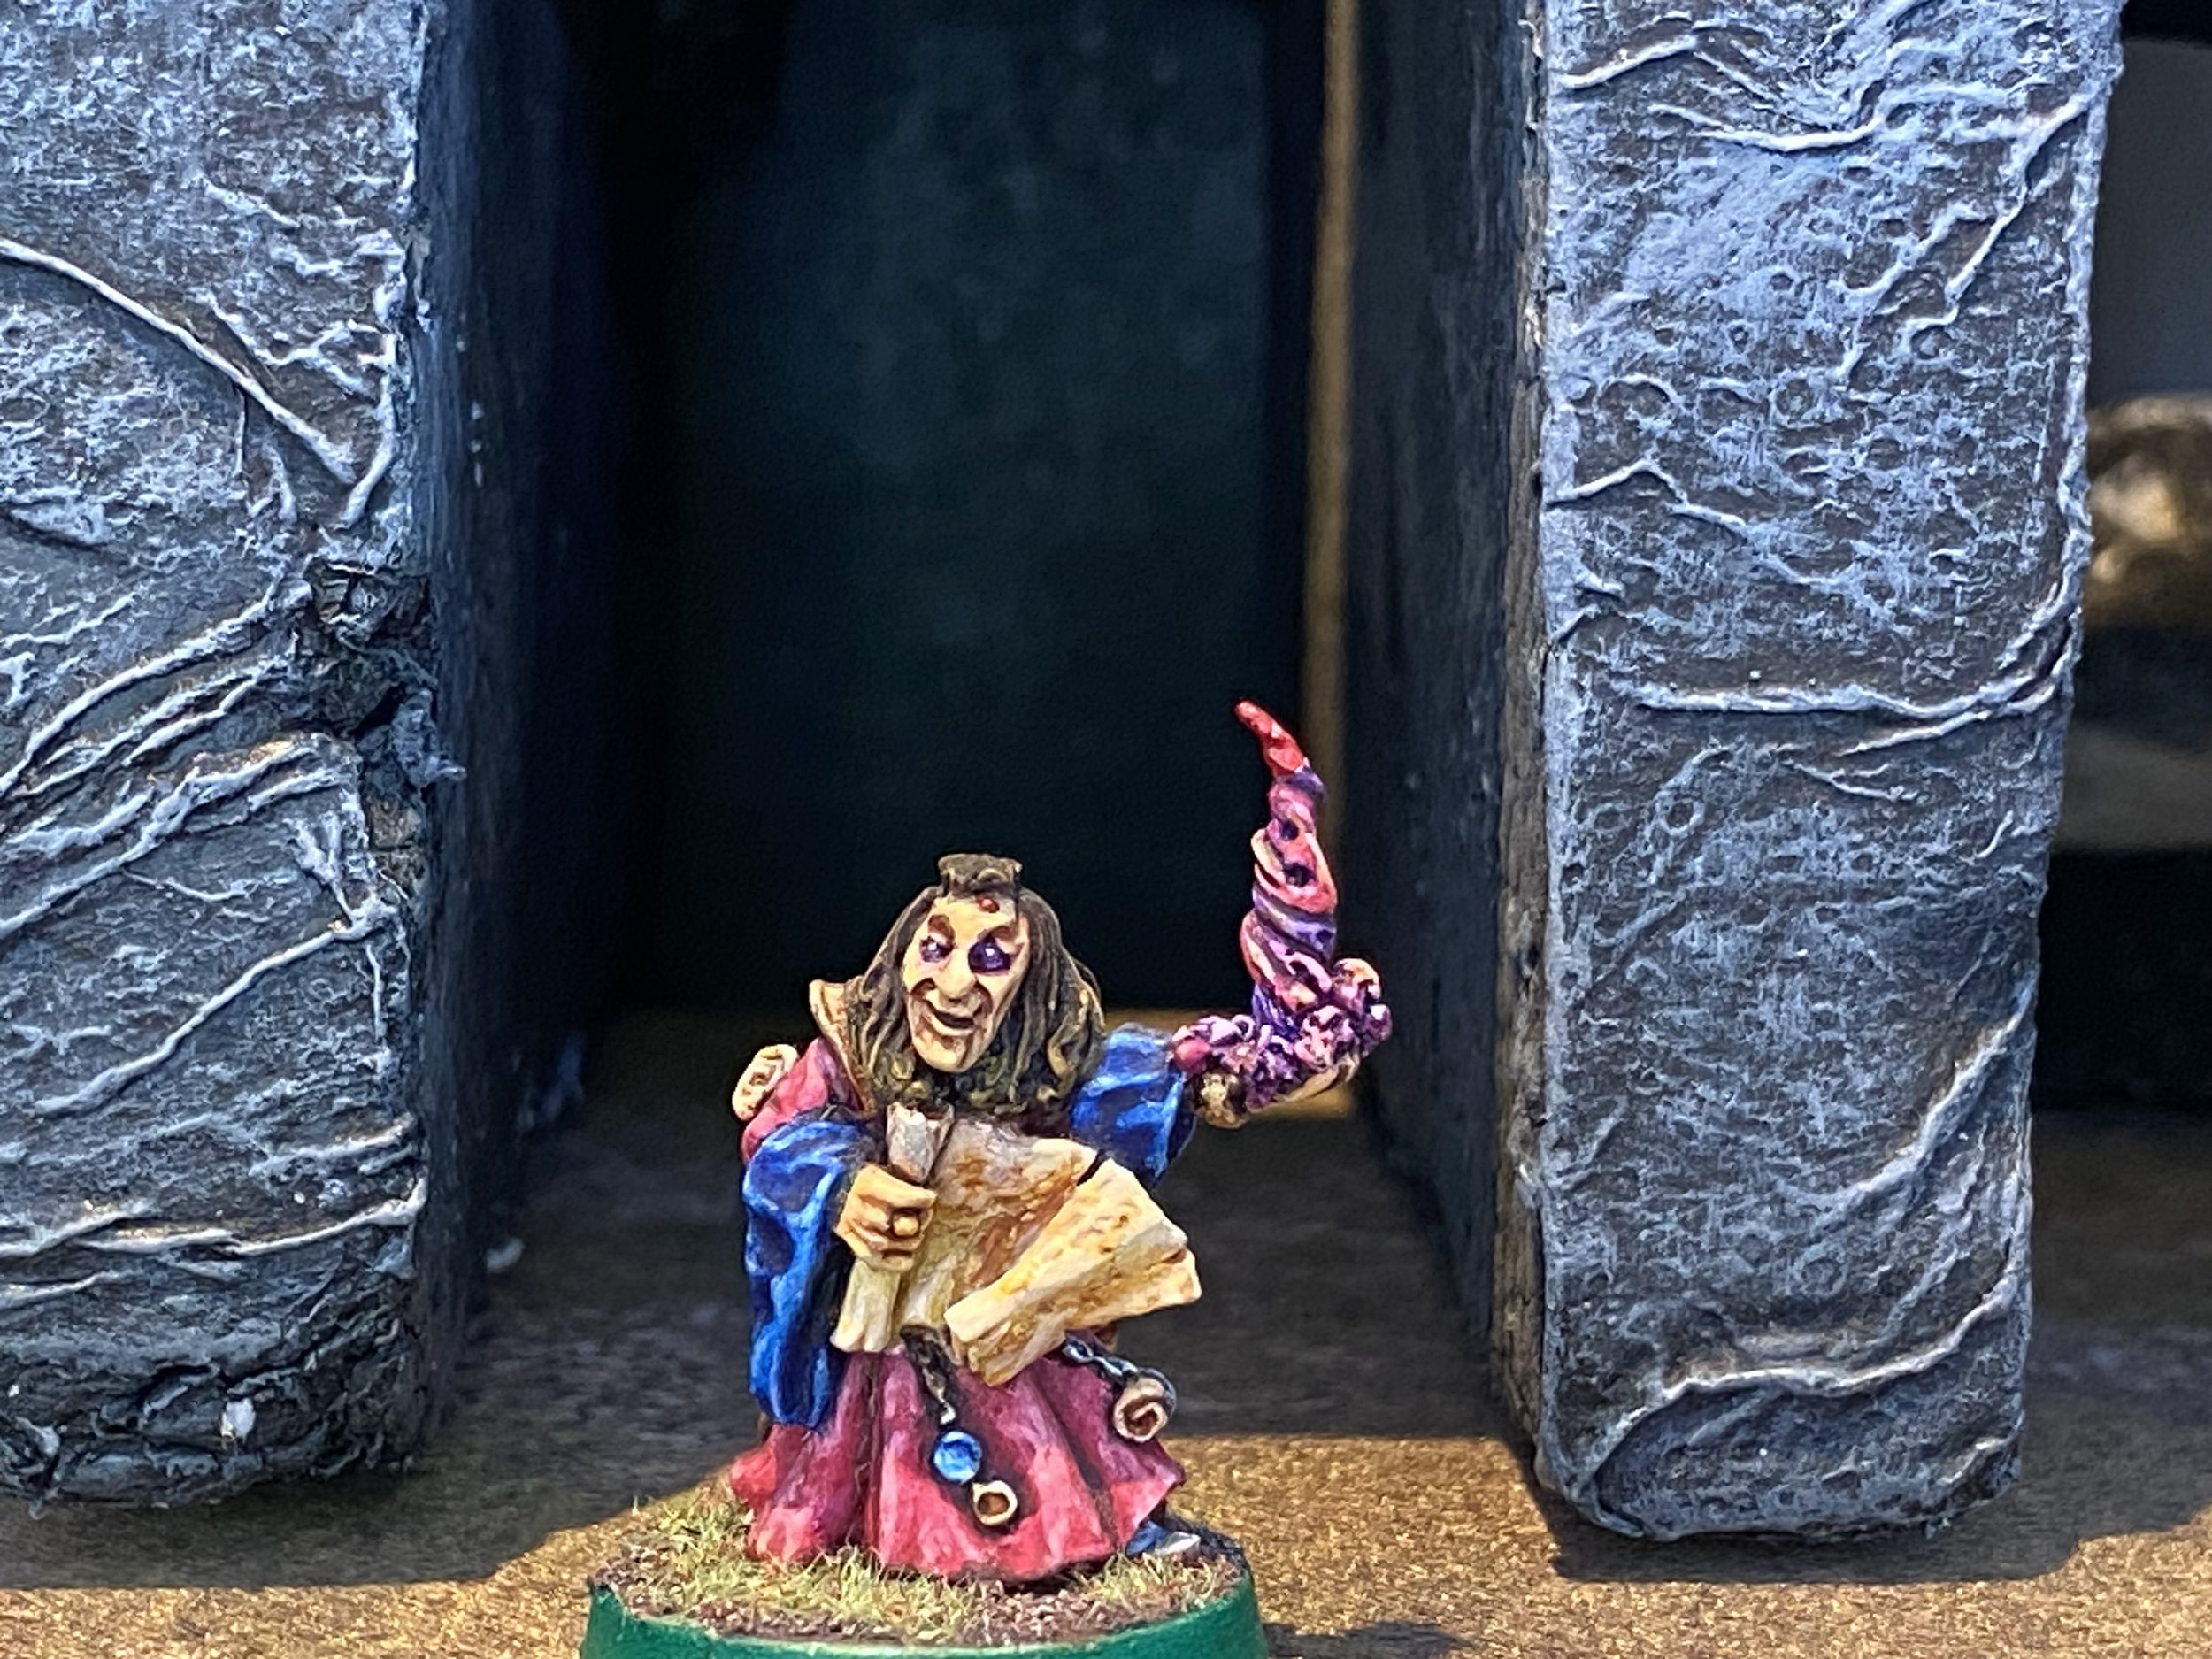
Witches Harvest. You encounter Ghitar the Brewer, a warlock and maker of potions collecting plants and fungus for the cauldron. Any warband besides Witch Hunters and Sisters of Sigmar can impress Ghitar by skilfully cutting specimens that the brewer needs. Choose a single warrior to make a Weapon Skill test. If you succeed, Ghitar is impressed and serves your warband as a Hired Sword for free this game. If you fail, the warlock tells you to “bugger off”. Your warrior must either attack Ghitar in close combat or make a normal move away from both the warlock and the cave entrance marker. Ghitar remains in place and new warriors coming into base contact can again attempt to impress the witch or engage Ghitar in close combat. The entrance is not safe until either Ghitar serves a warband or is taken out of action.
Hallow Howl. An uncanny wail seems to echo within the cave entrance. Whether this is a natural phenomenon of the cavern or an unearthly cry of a haunt in the tunnels beyond is unknown. Warriors at the entrance make a fear test. Warriors which pass the test may attempt to conceal the entrance on their next recovery phase. Warriors who fail immediately flee 2D6” towards the nearest table’s edge. Should the entrance remain unconcealed, mark it as safe, but any warrior coming into base contact must first pass a fear test to remain in base contact.
Penfold, the Quayside Hamster. Discovered within the entrance is a cage holding a golden haired hamster with its unusually long tail tied into a knot. This turns out to be Penfold, the mascot of Quaysiders who is very much alive! You may take the cage as a carried item for the game. The cave is safe to conceal.
Hideaway Map. Painted on the cave wall of this entrance looks to be a map. The cave is safe to conceal. The first warband to do so also gains use of a Haug’s Hideaway Map. If no warband conceals the cave, the warband remaining on the table at the game’s end gains the map.
Cave Encounter TableStarting the Game
Determine the order of play normally.
The game ends when either all cave entrances have ben concealed or there is only one warband left that has not routed. Any cave entrance markers left on the battlefield are collected by the player of the remaining warband.
One of the cave entrances does lead to an underground grotto, a perfect hideout for a young gang. However, warbands can only later explore the caves they know about, never finding those that have been concealed or undiscovered by routing warbands.
Ending the Game
Each player counts the number of Cave Entrance Markers they have collected and together create a range, 1 to 12 that can be used to determine which player has discovered the grotto after rolling a D12*.
For example, Player A collected four cave markers, Player B two, and Player C six. In our range, Player A are numbers 1–4, Player B: 5–6, and Player C: 7–12. Roll a D12. The number rolled determines who wins the game.
*If you do not have a D12 you can easily simulate one with two six sided dice. Roll the first die to determine the base number. Roll the second die (a “50/50” die roll), and if the result is 1–3 the base number remains as the final score, but if a 4+ is rolled add 6 to the base number to determine the final score.
In addition to the Cave Cache and loyalty point reward, the winning warband chooses which gang is told where to find the grotto. Informing the Trash Brats earns the warband a Betrugeller Ambush Point while divulging the cavern’s location to the Gherkin Jerks awards warbands with the Bonny Mama Healing Effect. Choose between these two rewards.
+1 Survives
+1 to the Winning Leader(s)
+1 Per Enemy Out of Action
Experience
Scenario Characters
Fester of SnotlingsM WS BS S T W I A Ld
4 2 2 1 1 3 3 =W 4
Use a 40mm x 40mm base to represent the fester.
Morr Score Value (optional): Hero.
Special Rules:
Immune to Psychology
Hard to Hit: Snotlings are quick, small, and good at using surrounding plants, rocks, and holes to avoid attacks. All attacks have a -1 to hit the fester and additionally the snotlings are always considered to have cover against shooting attacks.
Fungus attack: Snotlings attack by lobbing poisonous fungus at all models they can. In the shooting phase of your warband they target your warriors with as many of pieces of fungus as they have wounds remaining, at a range of 6” (all fungus attacks are considered short range). Hitting enemies with fungus is also their only close combat attack(s). The snotlings will try and target as many victims as possible and will only launch more than one attack at a single model if there is no other choice. The snotlings can still lob fungus in the shooting phase while in close combat, but only at models which are not in base contact. For every model in close combat they will have one less shooting attack.
Anyone hit by the fungus must take a toughness test or fall unconscious, becoming out of action for the game. After the battle there is no need to roll for injury, the model automatically suffers the robbed result on the hero’s serious injury table as several snotlings strip the model naked. This applies to henchmen as well as heroes. Out of action henchmen must be re-equipped before they can be used in future battles.
Easy to scatter: upon loosing its last wound the snotling swarm automatically goes out of action.
Ghitar the Brewer, WarlockA hedge magician from Sylvania, Ghitar’s magic tradition includes the brewing of potions.
M WS BS S T W I A Ld
4 2 2 3 3 1 4 1 8
Morr Score Value (optional): Hero.
Save: none
Equipment: Carries a Staff (use as club) and a Dagger.
Ghitar will not cast spells or use potions in this scenario. Should Ghitar serve a warband during the game, the brewer will offer to continue service if the warband pays the warlock’s hiring fee of 30 GC (avoiding bidding in the Mercenary Market if you are using this optional rule). The first warband to actually hire Ghitar will roll for 1 lesser magic spell and 1 potion recipe that the warlock knows.
Full rules for Ghitar, should you hire the warlock.
Scenario Elements
The gang offers some space in their hideout for your warband to store equipment and valuables. Before each game, you can store up to half of your warband’s gold, warpstone and stored items (no Dark Artefacts or Loyalty Symbols) in the cave cache so you do not have to bring it on to the battlefield. Warband leaders do not completely trust the gang and will not allow more to be stashed here.
This turns out to be a wise decision, as the young thieves can’t help but be tempted to skim some wealth. During all post battle sequences after Serious Injury Rolls roll a 2D6 and consult the sticky fingers table below to see if anything left in the cave cache goes missing after the battle.
Cave Cache2 - Grab & Run. The gang decides your wealth is worth more than their hideout and empty the entire grotto abandoning it. You loose all of the treasury that is stored here as well as the Cave Cache itself (no leader would trust leaving anything in here anymore).
3-4 Protection money. The gang feels like they deserve a little something for looking after your stuff (they don’t say that to your face, however, playing dumb about anything missing). Roll another D6 to determine what has been pinched. If the number you rolled is not represented in the cave cache, the closest number that does represent available treasury goes missing.
Sticky Fingers Table1-2: a random piece of stored equipment. If there are multiples of the same equipment D3 go missing.
3-4: D2 warpstone shards.
5-6: 25% of your gold crowns (rounded up).
5-9. Maybe (Not) This Time. The gang resists temptation and leaves your treasury as it is.
10–11. Caught Red Handed. You catch the youths handling your stuff and threaten them not to cross your trust. The gang promises to behave and offers to spy for you in compensation. You gain 1 Ambush Point.
12. Who’s Was This? The gang mistakes some of their own loot for yours. Roll D66 on the Random Fortune Table and add it your treasury.
If you successfully ambush using this special ambush point, choose one of your opponent’s models that does not begin the game on the table to “never arrive”. Otto Betrugeller’s thugs have assaulted the warrior who now lays unconscious in some ally or ravine. The warrior cannot participate in the ambush, but does not have to make a serious injury roll (they slowly make a full recovery after waking up).
Betrugeller Ambush PointThe mascot of the Quayside is found alive and well, secreted into a cave entrance. It turns out that stevedores guildmaster, Barno Greinbach, is highly in debt to Otto Betrugeller, a Den Don known for his brutality against those who don’t pay him (or against anyone really). Barno came up with the plot to mourn Penfold’s “passing” planning to later “resurrect” the hamster for what he believes will be a lucrative venture fleecing the gullible wishing to see the miraculous murine.
A warband which controls Penfold at the end of the game can choose to expose guildmaster Greinbach’s scheme at the beginning of any future chapter. Warbands first try to sell Penfold back to the stevedore, of course, but Barno is broke. The warband gains the Murine Manumitter reputation. Your leader will also suffer the Dock Boss Bounty, if using the optional rules for Bounties.
Penfold, the Quayside Hamster Victory Value : 1Secure any uncontrolled carried items before removing warband models from the table.
If you won the game let your campaign administrator which reward you chose.
If playing Side Quests, inform your campaign administrator if you posses the haug’s hideaway map, an objective for the Haug’s Hideaway Side Quest. Then roll the appropriate number of dice on the Haug’s Hideaway Discovery Table.
Inform your campaign administrator if you earned the Murine Manumitter Reputation.
If playing with bounties, inform the campaign administrator if your leader received the Dock Boss Bounty.
Fill out your end of chapter data sheet and send it to your campaign administrator.
Post Game
Chapter 3 - Not Business As Usual